

Turning an idea into a real product takes eight steps: define it, document it, research it, design it, prototype it, test it, prep it for compliance and manufacturing, and scale it. Each step protects the ones after it, so skipping ahead is where most launches go wrong.
Everyone has had a good idea at some point. Far fewer people ever turn that idea into something real. So, what’s the difference? It’s not luck. It’s a clear process, followed one step at a time, with the right checks along the way.
This guide breaks that process into eight steps. It’s written for founders, small brands, and product teams. You’ll learn what actually happens between “I have an idea” and “we’re shipping units.” Product design is the bridge between the two. It works best when each step gets proper attention before you move to the next one.
Step One: Conceptualize Your Idea and Get Ready
The first step is to make your idea clear in your own head. A fuzzy idea is hard to build. It’s also hard to explain to a partner, investor, or design team. Before you go further, ask yourself a few honest questions:
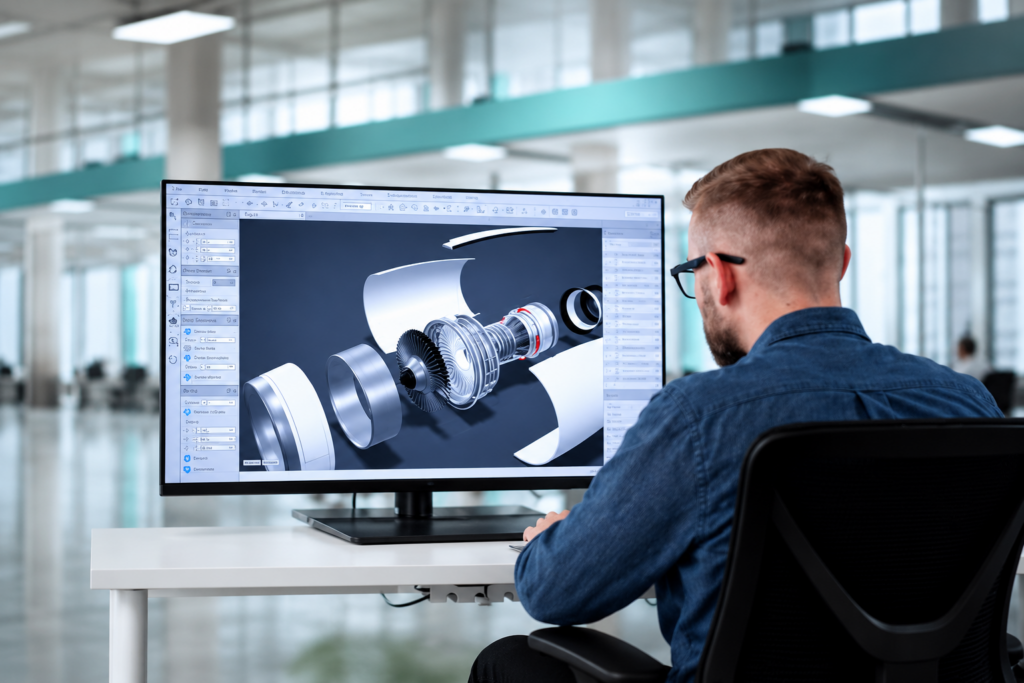
- Have I done enough research on the people who would actually buy this?
- Is this idea strong enough to stand out in a crowded market?
- Are there similar products out there already, and what do they get wrong?
- Can I explain my idea clearly in two or three sentences?
Once you can answer these clearly, you’re ready to move to the next step. If you can’t, that’s a sign to spend more time here before you spend any money on design or tooling.
Step Two: Document Your Idea Clearly
A clear idea still needs to be written down. This step turns a mental picture into something a design team can actually work from. A good working document usually includes:
- The core problem your product solves.
- The main features, ranked by priority, not just listed.
- Rough size, weight, and power needs, if the product is electronic.
- A target price and rough unit cost.
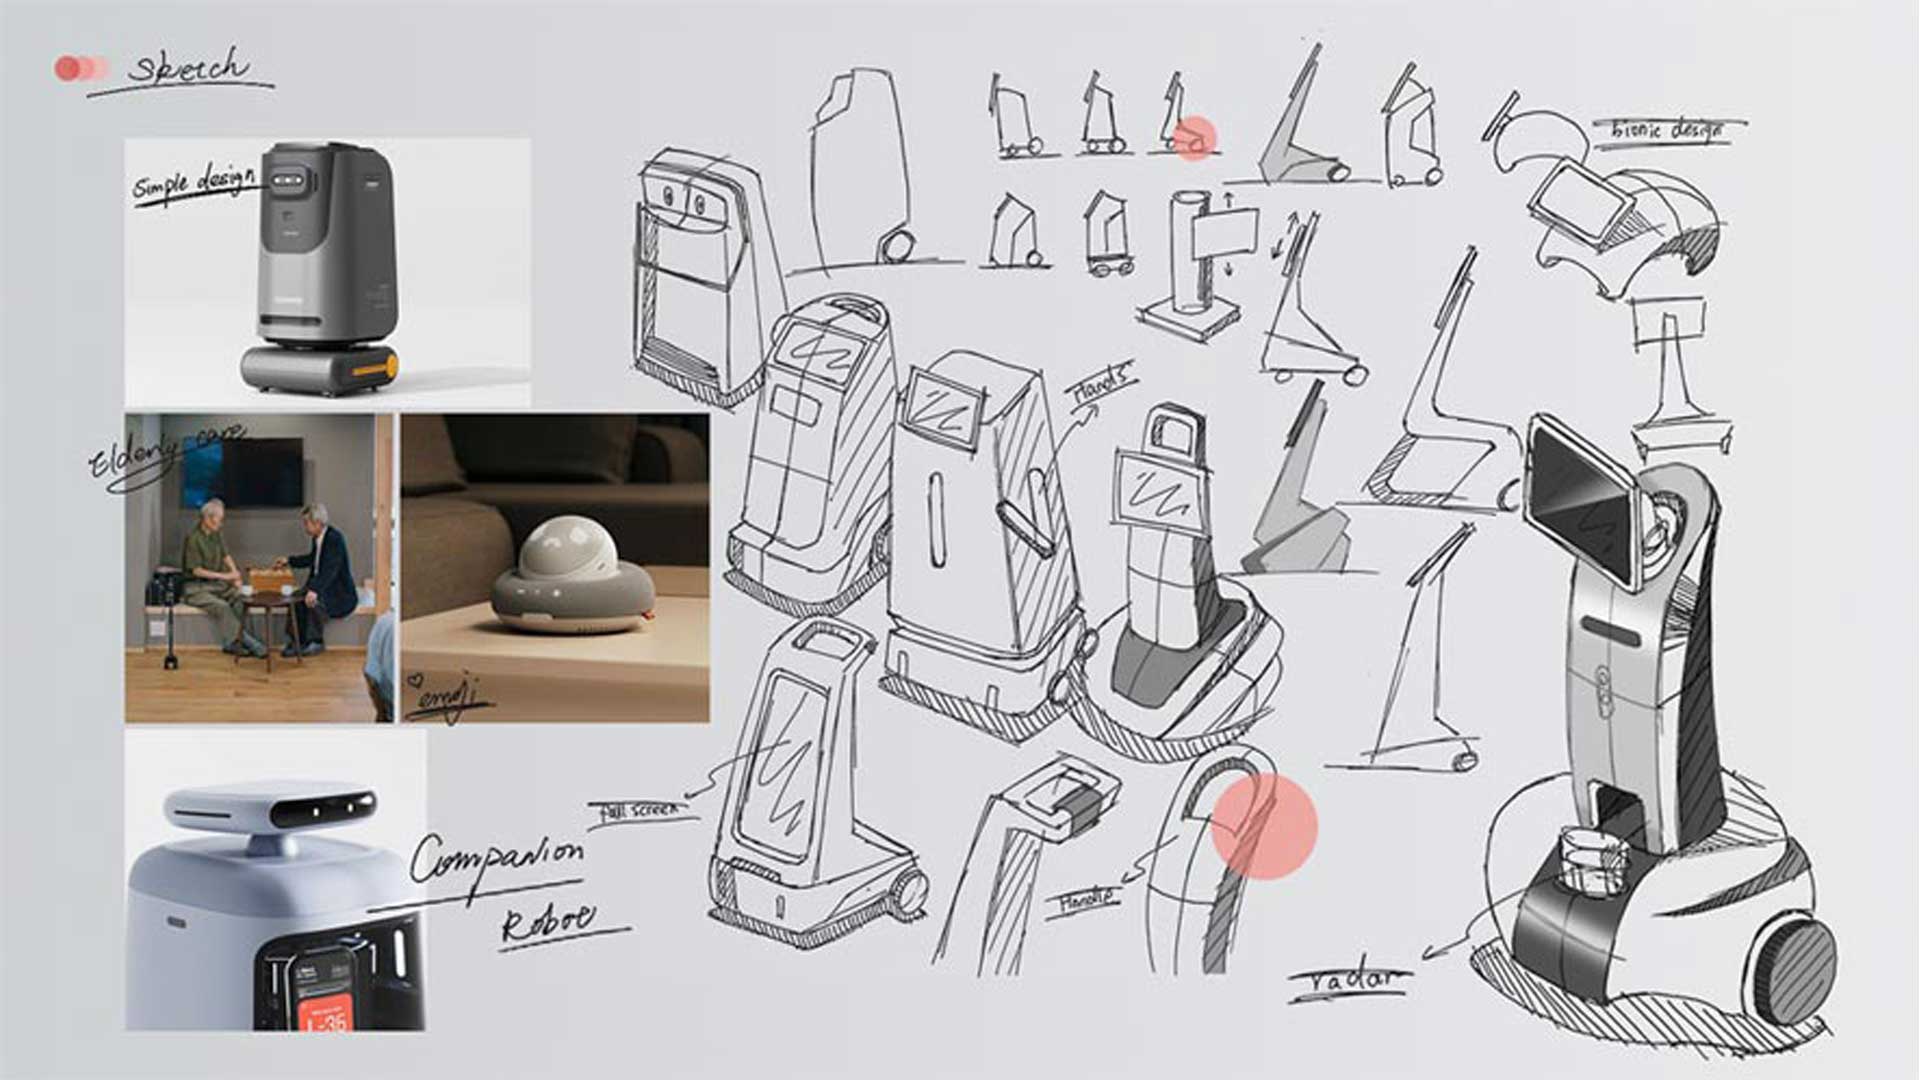
- Any early sketches, even rough ones, that show your intent.
This document becomes the anchor for every choice that follows. Without it, small changes creep in over time. A feature gets added here, a shape shifts there, and months later, the product barely resembles the original idea.
Writing this down early also gives any outside design partner a clear starting point. It replaces a vague verbal brief that means something different to everyone in the room.
Step Three: Do Product and Market Research
Once your idea is written down, it’s time to check it against reality. Many products fail simply because no one checked the market first.
Product research usually covers:
- Searching for similar products already on shelves or online.
- Checking what those products get right and where they fall short.
- Looking at price points buyers are already used to paying.
Market research goes a step further. It usually includes:
- Talking to a handful of real potential buyers, not just friends and family.
- Running a simple online survey to test interest and price sensitivity.
- Using the feedback to sharpen or adjust the idea before design work starts.
A structured framework helps here too. Stanford d.school’s design thinking process is a widely used approach for testing ideas against real user needs before committing resources to design.
This step is cheap. Skipping it and finding out the market doesn’t want your product after tooling is not. Many failed launches trace back to this exact gap. A team falls in love with an idea before checking if enough other people would too.
Step Four: Design Your Product
This is where the idea starts to take real shape. Two kinds of design work happen here. They need to move together, not one after the other.
Good industrial design product development also builds in brand identity. It covers shape, color, texture, and how someone will hold or use it. The shape of a product often signals quality before a buyer even reads a single spec.

Mechanical design turns that shape into something that can be built. It covers wall thickness and snap-fit joints. It also checks how parts like a battery, PCB, or motor fit inside the housing.
Skilled mechanical design company work also checks tolerances early. A molded plastic housing often holds tolerances near ±0.1 to ±0.15 mm, while machined metal parts can hold closer to ±0.05 mm. Get this wrong, and parts simply won’t fit together at assembly.
Before any of this starts, it helps to lock in the product’s direction with clear product strategy work. This keeps the whole team aligned on the target user, price band, and core value, so the design doesn’t drift halfway through.
A short strategy exercise up front is far cheaper than a mid-project pivot once tooling budgets are already committed.
Step Five: Build a Prototype
A design on screen is not the same as a design you can hold. A prototype shows you what a CAD file can’t, like a button that feels stiff or a seam that catches dust.
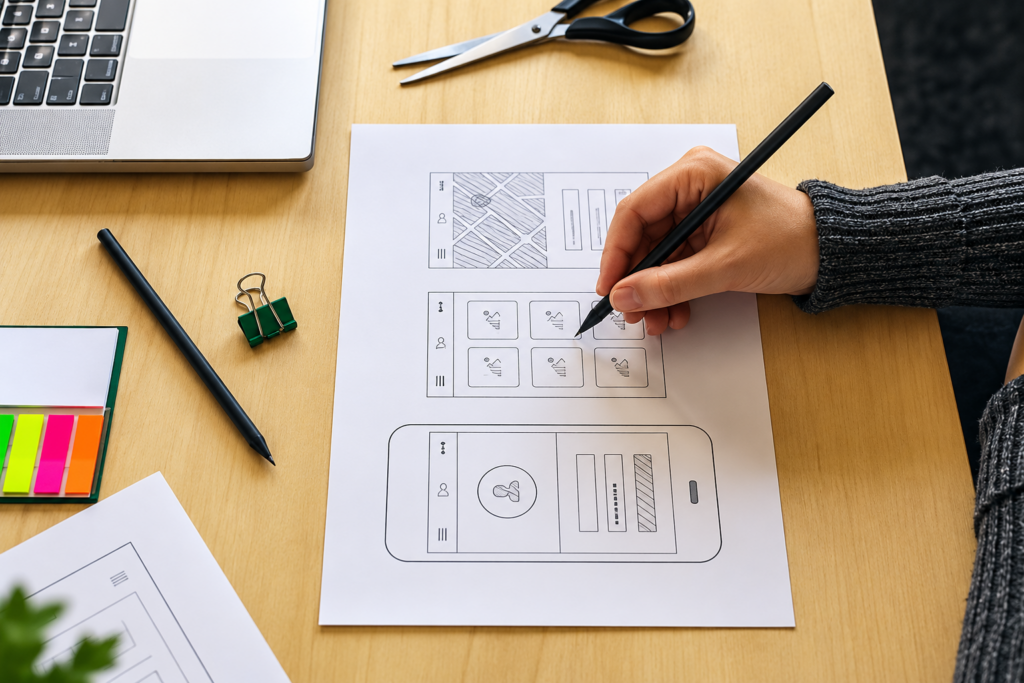
Most projects move through a few rounds of prototypes:
- A rough proof-of-concept, often 3D printed, to check basic fit and form.
- A working prototype with real electronics, if the product needs them.
- A finished-look sample that matches the planned color, texture, and finish.
Careful product prototyping service is far cheaper than finding a flaw after a mold is cut. A 3D-printed part might cost a few dollars and take a day. A mold correction, by contrast, can cost thousands of dollars and add weeks to the schedule.
Teams that skip this step often end up paying for it twice: once to fix the mold, and again in lost time to market.
Not sure where your product idea stands in this process?
Book a free 30-minute consultation with our team. We’ll review your concept, identify the next critical step, and give you a realistic timeline and cost estimate.
Schedule Your Free Consultation
Step Six: Test and Validate Your Design
A prototype that works once on a desk is not the same as a product that survives daily use. Real testing pushes the design past its comfort zone.
Useful checks at this stage include:
- Drop testing, often from about a meter onto a hard surface, to check housing strength.
- Basic heat and cold checks, to see how parts and finishes hold up.
- Button, hinge, and connector cycle testing, run hundreds of times.
- Simple water or dust checks, if the product will meet those conditions.
For connected products, testing also has to satisfy formal standards, such as the FCC’s equipment authorization requirements for anything that transmits a radio signal.
Skipping this step is a common reason products come back with high return rates soon after launch. A structured way of validating hardware before mass production catches these problems while a single tooling fix can still solve them.
That’s a far better outcome than a wave of warranty claims once thousands of units are already in customers’ hands.
Step Seven: Prepare for Compliance and Manufacturing
Before a product can scale, it needs two things sorted: the right approvals and a design that’s actually easy to build in volume.
On the compliance side, this often means electrical safety marks, wireless testing for connected products, and material safety checks for anything that touches skin.
Planning for product compliance consulting early avoids a painful trap. That trap is finishing a design, then learning it needs a hardware change to pass a required test.
On the manufacturing side, a few design choices matter a lot:
- Draft angles: Mold walls need a slight taper, often 1 to 2 degrees, so parts release cleanly.
- Wall thickness: Structural plastic parts often run 2.0 to 3.5 mm thick. Go thinner, and parts can warp. Go thicker, and cost and cycle time both climb.
- Part count: Merging several small parts into one molded piece can cut assembly time and remove fasteners, even if that single part costs more to tool.
Getting these details right usually means bringing in mold injection design expertise before the design is locked, not after.
A mold built around an unrefined design almost always needs costly rework once real production starts, and reworking steel tooling is never quick.
Step Eight: Move Into Mass Production
With a tested design, a working mold, and the right approvals, your product is ready to scale. This step still needs close attention, since small issues that didn’t matter in a small batch can multiply fast across a full run.

Good manufacturing support service at this stage covers supplier coordination, incoming quality checks, and a pilot run before full-volume output starts.
A pilot batch of a few hundred units is a smart, low-cost way to catch assembly issues early. That’s far better than catching them once a warehouse is already full of finished stock.
This is also the point where cost per unit gets locked in. Small process tweaks here can shape margins for the entire product’s life.
Why Working With One Partner Makes This Easier
Each step above can be handled by a different vendor. Many founders start that way. Then they spend months chasing updates between a design studio, a prototype shop, and a factory that have never worked together before.
A good product design firm avoids that problem. It can carry a project from concept through mechanical engineering and prototyping. It can also handle mold development and full-scale manufacturing under one roof.
That’s the model behind full-service product design services. One team, one set of files, and one point of contact, from the first sketch to the first shipping container.
For hardware and electronics products, where the build happens matters almost as much as how it’s designed. Many overseas founders now choose to work with a product design company China-based.
Regions like Shenzhen offer a dense, connected supply chain of part makers, mold shops, and factories. These are often just a short drive apart. That closeness shortens feedback loops. A design tweak can go from CAD file to physical sample in days, not weeks.
Common Mistakes That Slow This Process Down
A few patterns show up again and again in delayed or troubled launches:
- Locking the look of a product before checking if it can be built at the target cost.
- Skipping market research because the idea “feels” right.
- Choosing tolerances tighter than the product actually needs, which drives up cost and reject rates.
- Treating compliance as a final checkbox instead of an early design input.
- Switching design partners mid-project, which resets months of shared context and understanding.
Most of these mistakes share one root cause. Teams treat idea, design, and manufacturing as separate jobs handled by separate people, instead of one connected process with a single owner.
Bringing Your Idea to Life With OPD Design
OPD Design works with startups, small brands, and hardware teams. We help turn early ideas into mass-produced products.
Our team carries that journey from early concept work through mechanical engineering, prototyping, mold development, and full-scale manufacturing, all under one roof.
Many of our clients have gone on to launch products that reached international markets, some picking up global design awards along the way. We stay involved from the first sketch through finished units. We can keep supporting you once your product is out in the world too.
If you want one partner to carry your idea from sketch to shelf, take a look at some of our recent projects. Or get in touch with our team directly. We’re happy to walk you through exactly how we’d approach your product.
Wrapping Up
Whether you’re an independent inventor, a small brand owner, or a startup founder, every step in this process matters. That’s why it pays to plan each stage carefully, from the first sketch to the final production run.
Protecting your idea matters too. So does choosing a partner who can actually carry it through to real, sellable units. Working with the right team from day one is the surest way to turn a good idea into a product people can buy.
Frequently Asked Questions
1. How long does it take to turn a product idea into a finished product?
Most consumer electronics or smart hardware projects take 6 to 10 months from concept to mass production. Simpler mechanical products can move faster, while connected devices with more compliance needs often take longer.
2. How much does it cost to develop a new hardware product?
Cost depends a lot on how complex the product is. Still, early design and engineering work is far cheaper than fixing mistakes late. A $2,000 design change caught before tooling can easily turn into a $20,000 problem after a mold is already cut.
3. Do I need a working prototype before I approach a manufacturer?
Yes, in almost every case. A working prototype shows a manufacturer exactly what needs to be built and tested. It also surfaces design issues early, while they’re still cheap and fast to fix.
4. What’s the difference between industrial design and mechanical design?
Industrial design shapes how a product looks and feels to the user. Mechanical design shapes how it’s built, including internal structure, tolerances, and how the parts fit together.
5. Why do so many hardware startups build their products in China?
Places like Shenzhen offer a tight, connected supply chain of component makers, mold shops, and assembly factories. That closeness often means faster prototype cycles, easier sourcing, and shorter lead times.


![product packaging design services — structural and brand packaging by OPD Design]](https://www.opd-design.com/wp-content/uploads/2025/12/packaging.jpg "OPD DESIGN | How to Make Your Product Idea Real in Eight Important Steps")