
You move from prototype to mass production in stages. First, confirm the prototype meets its goals. Then freeze the design, lock the electronics, build and test tooling, check compliance, run a pilot build, and set quality checks. Product prototyping services help with the early stages. A clear plan for the later stages keeps the handover to the factory smooth.
Product prototyping services help you test an idea in physical form before you commit to a factory. A working prototype proves a lot, but it does not prove everything. A product that works as one sample may still be hard to build a thousand times.
This guide explains how we think about the path from prototype to mass production at OPD Design. You will see each step, the checks that matter, and the mistakes to avoid. It is written for startups, inventors, and product teams that plan to produce a physical or connected product.
What Product Prototyping Services Cover
Product prototyping services turn a design into a physical product you can hold, test, and improve. The work usually includes several rounds of samples. Early rounds check form and fit. Later rounds check electronics, durability, finish, and user experience.
At OPD Design, prototyping sits between design and production. Our product prototyping services help teams test and validate both the design and the function before tooling begins. The goal is not just a good sample. The goal is a design that is ready for production.
Why does this matter? Because a prototype is built for learning. A mass-produced product is built for repeatability. The steps below connect the two.
Step 1: Confirm the Prototype Is Ready
Before you plan production, check that the prototype meets its goals. A prototype that still has open questions will pass those questions on to the factory.
Move through prototype stages
Most products need more than one prototype. Each stage answers different questions.
Our party box speaker case shows this well. The project moved through three rounds: a rough proof of concept to check form and portability, a working prototype with real electronics, and a finished-look sample that matched the planned color, texture, and finish. Testing covered drop resistance, battery life, splash protection, and audio quality.
Define what ready means
Write down the targets before the final prototype is built. Then check each one.
- Does the product work as planned in daily use?
- Does it pass the tests you set, such as drop, heat, and battery tests?
- Have real users tried it and given feedback?
- Are the known problems fixed or listed with a plan?
A written checklist keeps the decision clear. It also gives your team and your manufacturer the same standard.
Step 2: Freeze the Design and Documents
Freezing the design means you stop making changes unless there is a strong reason. Every change after this point can affect tooling, parts, and cost.
Prepare a complete document set for the factory. It usually includes:
- Final 3D models and 2D drawings with tolerances
- A bill of materials with part numbers and approved suppliers
- Electronics files and firmware versions
- Assembly instructions and test procedures
- Finish, color, and material specifications
Keep one version of each document and track every change. Many production problems come from teams working with different versions. A simple change log prevents that.
Step 3: Plan the Strategy for Scale
A prototype can be built by hand. A product built in volume needs a plan for cost, supply, and support.
IoT products strategy work looks at positioning, features, price, and the path to market together. For a connected product, it also covers how the device, the cloud, and the app support customers after launch.
Ask these questions before production starts:
- What is the target cost per unit, and does the design meet it?
- How many units will you order first?
- Which features are required for launch, and which can come later?
- How will you handle returns, updates, and support?
Answering these questions now prevents surprises when the first invoices arrive.
Step 4: Lock the Electronics and Firmware
Electronics and firmware need their own freeze. A change to a board or a software build can ripple through the whole product.
Hardware
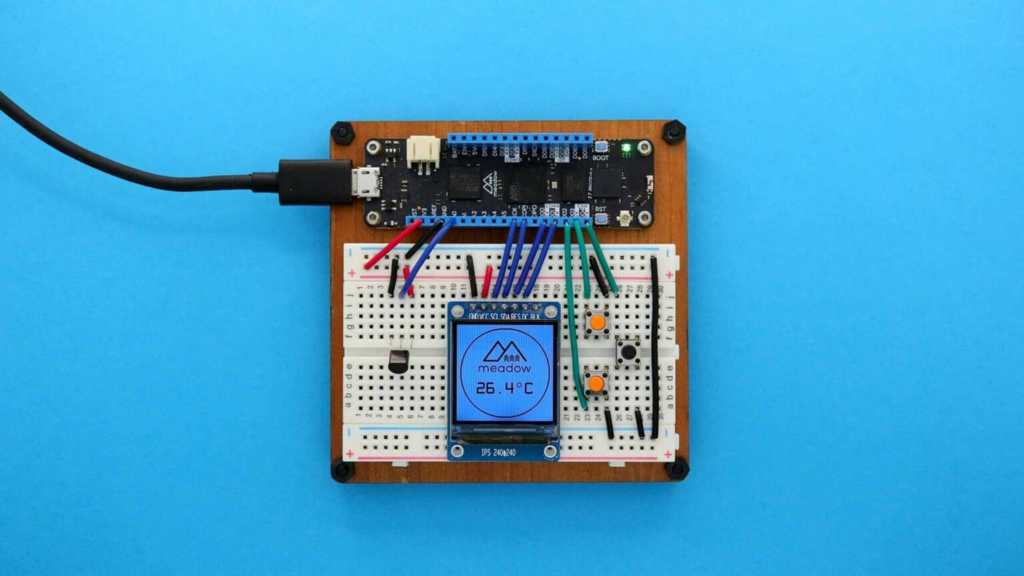
IoT hardware design covers circuit boards, component choices, power needs, and how the electronics fit inside the product. Before production, confirm that the board layout is final and that every key part is available in volume. Check alternates for parts that have long lead times.
Software
Connected products also depend on software on the device, in the cloud, and in an app. An IoT software development service helps make sure these parts work together. Decide which firmware version will ship. Plan how devices will receive updates after sale. Test the connection with real networks, not only lab conditions.
Test points and programming
Production lines need a way to program and check each unit. Add test points on the board and write a short test routine. These steps save time on the line and help catch faulty units early.
Step 5: Build Tooling and Validate Parts
Many products use molded plastic parts. Molds are expensive and slow to change, so this step needs care.
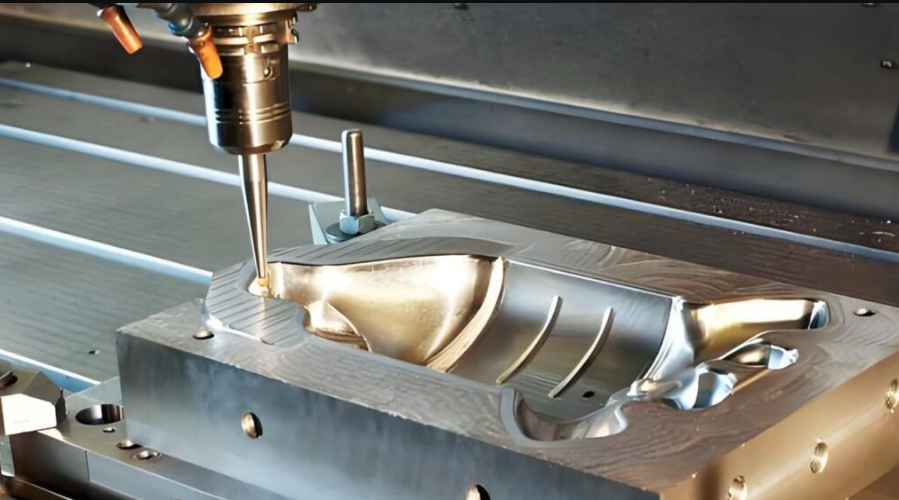
Tooling usually follows the design freeze. The tooling team checks draft angles, wall thickness, parting lines, and gate positions. Then the first mold trials produce sample parts. These samples show whether the parts match the drawings.
Check the first parts for fit, finish, and strength. Assemble them with the other components. Fix problems in the mold before volume production begins.
Our knee brace case followed this path. Functional prototypes went through flexion cycle simulation, durability tests, and user trials. After that, the team designed molds from the final drawings and ran trial runs to check consistency. Quality inspection processes were set up for production batches.
Exploring how to move your prototype toward production? Our team works with startups and brands on prototyping, electronics, software, and production planning for physical products. Talk to us about your project and the steps ahead.
Step 6: Check Compliance Before Production
Many products need approval before they can be sold. The rules depend on the product type and the market.
In the United States, radio frequency devices must meet the technical requirements of the Federal Communications Commission before they are marketed or imported. The FCC describes the process in its equipment authorization guide. Other regions have their own rules. Examples include CE marking in Europe and restrictions on certain materials under RoHS.
Compliance testing should use units that match the final design. If the design changes after testing, the results may no longer apply. Plan the test schedule so the approved design is the one that goes into production. Check the packaging as well, since some products need marks or documents inside the box.
Step 7: Run a Pilot Build
A pilot build is a small production run made with the real parts, tools, and process. It sits between the last prototype and full production.
The pilot answers questions that a prototype cannot:
- Can workers assemble the product quickly and in a repeatable way?
- Do the parts from different batches fit and work the same way?
- Do the test routines catch faulty units?
- Does the product pass final checks without extra handwork?
Record every problem you find. Fix the cause, not just the unit. For example, if a connector often sits crooked, change the part or the fixture instead of adjusting each product by hand.
In our projects, we coordinate component sourcing, supplier selection, and pilot runs before volume shipment. The pilot is the last chance to fix issues at a low cost.
Step 8: Set Quality Checks
Quality checks make sure every batch meets the same standard. Decide what to check, how often, and who signs off.
Common checks include:
- Incoming inspection for parts and materials
- In-line checks at key assembly steps
- Final function tests on every unit
- Sample inspection for appearance and packaging
- Records that link each batch to its parts and test results
The international standard ISO 9001 sets out requirements for a quality management system. You do not need to certify your own company to learn from it. Its ideas about clear processes, records, and steady improvement apply to any production plan.
Agree on a defect limit with your manufacturer before the first order. A written standard avoids arguments later.
Step 9: Plan Supply and Ramp Up Slowly
Mass production does not need to start at full volume. A staged ramp-up lowers risk.
Start with a modest first order. Review the results. Then increase volume as the process proves stable. This approach gives you time to fix small problems before they become large ones.
Keep an eye on supply. Confirm lead times for key parts. Keep a safety stock for parts that are hard to replace. Build a relationship with a backup supplier for critical components if possible.
Plan packaging and shipping at the same time. Check that the packed product survives transport. A strong product can still arrive damaged if the packaging is weak.
Readiness Table
Use the table below to check your progress before you commit to mass production.
| Stage | Goal | What to confirm | Typical output |
|---|---|---|---|
| Prototype review | Prove the design works | Targets met in testing and user trials | Test report and issue list |
| Design freeze | Stop changes | Documents complete and versioned | Final drawings and bill of materials |
| Electronics and firmware | Lock the circuit and software | Parts available and firmware version set | Board files and release build |
| Tooling | Prepare production parts | Trial parts fit and finish match drawings | Approved mold samples |
| Compliance | Meet market rules | Tests done on the final design | Test reports and certificates |
| Pilot build | Prove the process | Repeatable assembly and passing tests | Pilot units and findings list |
| Quality plan | Keep batches consistent | Checks and defect limits agreed | Inspection plan |
| Ramp-up | Scale with control | Stable results and supply | First production order |
Conclusion
Moving from prototype to mass production is a series of decisions, not a single jump. Each step reduces risk. You confirm the prototype, freeze the design, lock the electronics, validate the tooling, check compliance, run a pilot, and set quality checks.
Product prototyping services work best when they look ahead to production from the first sample. A clear plan, written checklists, and steady communication with your manufacturer help the handover go well. If you want to talk through your prototype and the steps ahead with a team that works across design, electronics, software, and production support, contact us today.
Frequently Asked Questions
What are product prototyping services?
Product prototyping services turn a design into physical samples that you can test and improve. They often include several rounds, from simple form models to working units with real electronics and a finished look.
How many prototypes do I need before mass production?
The number depends on the product. Simple products may need fewer rounds. Connected products with electronics, housings, and compliance needs usually need more. Each round should answer a clear set of questions.
What is a pilot build?
A pilot build is a small production run that uses the real parts, tools, and process. It shows whether the product can be assembled and tested in a repeatable way before full production starts.
When should I start thinking about compliance?
Start during the design stage. Compliance rules can affect circuit layout, materials, and labeling. Testing should use units that match the final design.
Do I need to freeze the design before tooling?
Yes. Tooling is costly and slow to change, so the design should be stable first. Small changes can still happen, but each one should be reviewed for its effect on parts, cost, and schedule.