
A strong product development strategy turns a hardware idea into a plan you can build, test, and sell. It sets your market, features, budget, and timeline before you spend money on tooling. This guide covers eight steps, from market position to launch, and shows how to avoid the mistakes that sink many hardware projects.
A good idea is not enough in hardware. You need a product development strategy that links your idea to a real buyer, a real budget, and a real factory. Without one, teams tend to drift, the design changes every month, and costs rise as the launch date slips.
Software teams can fix a mistake with a quick update, but hardware teams cannot. Once a mold is cut or a batch is built, changes become slow and costly. For this reason, the thinking must come first.
This guide is for founders, product managers, and small brands. It shows how to plan hardware innovation step by step, from the first sketch to the first sale.
What a Product Development Strategy Really Is
A product development strategy is a written plan. It answers five simple questions:
- Who is this product for?
- What problem does it solve?
- Which features come first, and which can wait?
- What will it cost to build and to sell?
- How long will each stage take?
Think of it as a map. A map does not walk the road for you. But it stops you from taking a wrong turn that costs six months.
The best plans are short and clear. They fit on a few pages. Every team member can read them and know what to do next.
Step 1: Find a Sharp Market Position
Start with the buyer, not the technology. Many hardware teams fall in love with a clever chip or sensor, and then hunt for someone to buy it. However, that order rarely works.
Talk to real people first, and ask about their daily habits and what annoys them. Do not pitch your idea; instead, just listen. A dozen honest talks will teach you more than a long survey.
Then study what is already on the market. Read reviews of rival products, especially the one-star ones. They show what buyers hate. A method such as design thinking from Stanford d.school can help. It turns rough notes into clear user needs.
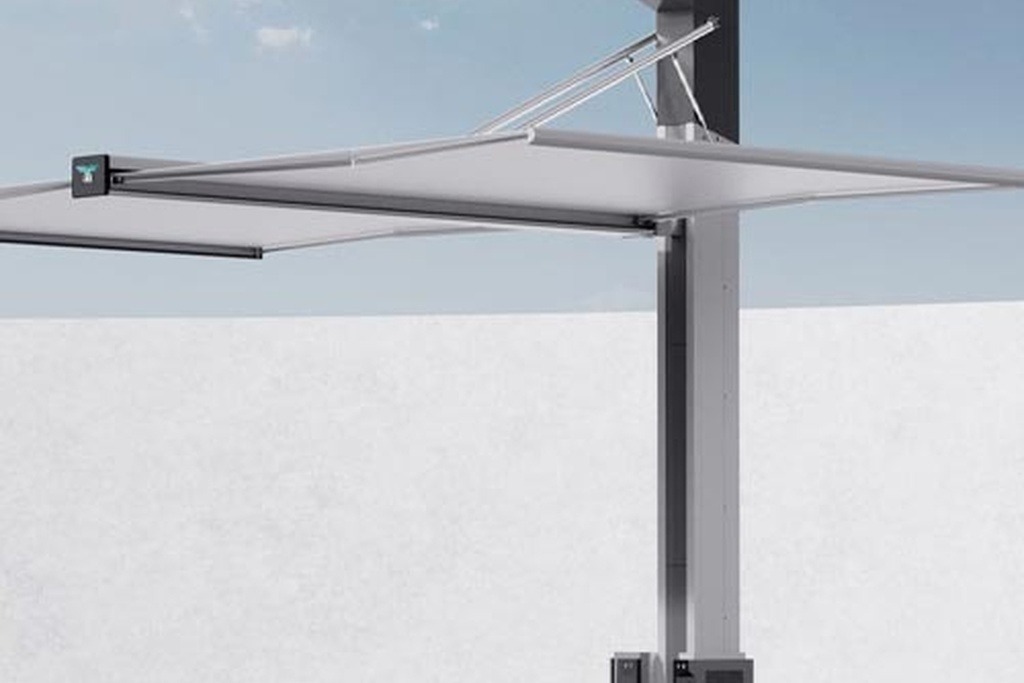
Next, pick a position. Decide what your product will be known for. It might be the lowest price, the best design, or the easiest setup. You cannot win on everything. A clear position guides every later choice, from materials to packaging.
One OPD case shows this well. A jade smart bracelet blends luxury with technology. The team did not try to beat sports watches on features. It chose a different buyer and a different promise.
Step 2: Set the Scope and Cut Features
Scope is the list of things your first product will do. However, most teams make it too long. As a result, every extra feature can add parts, code, testing, and cost.
Try a simple sort. Put each feature into one of three groups:
- Must have: The product fails without it.
- Should have: Buyers will want it, but they can wait.
- Could have: Nice ideas for version two.
Launch with the first group, add the second group only if the budget allows, and save the third for later.
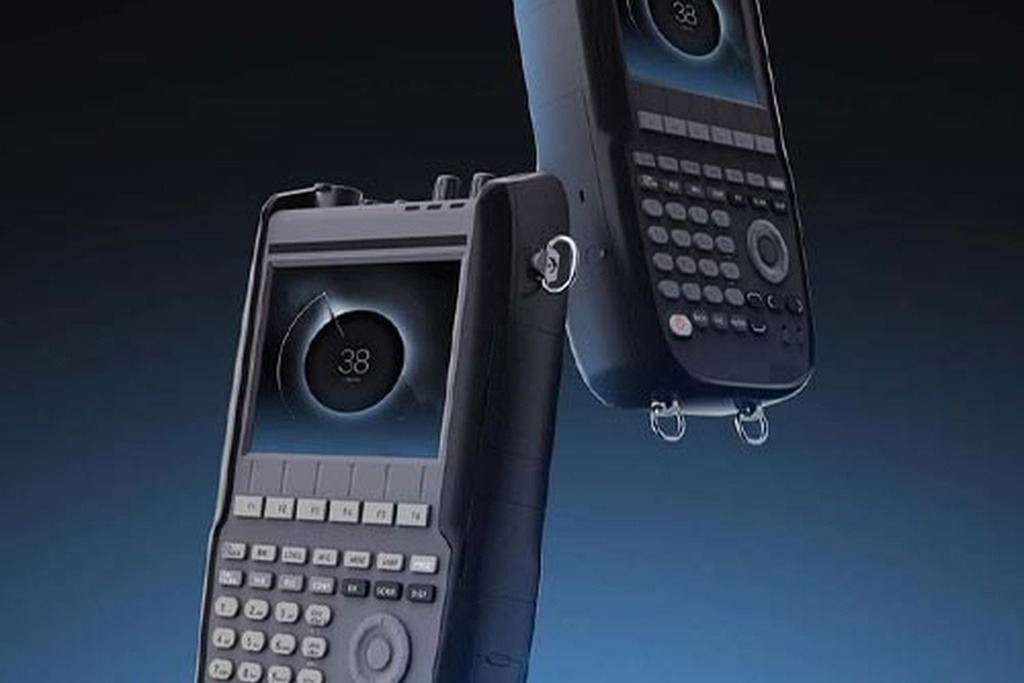
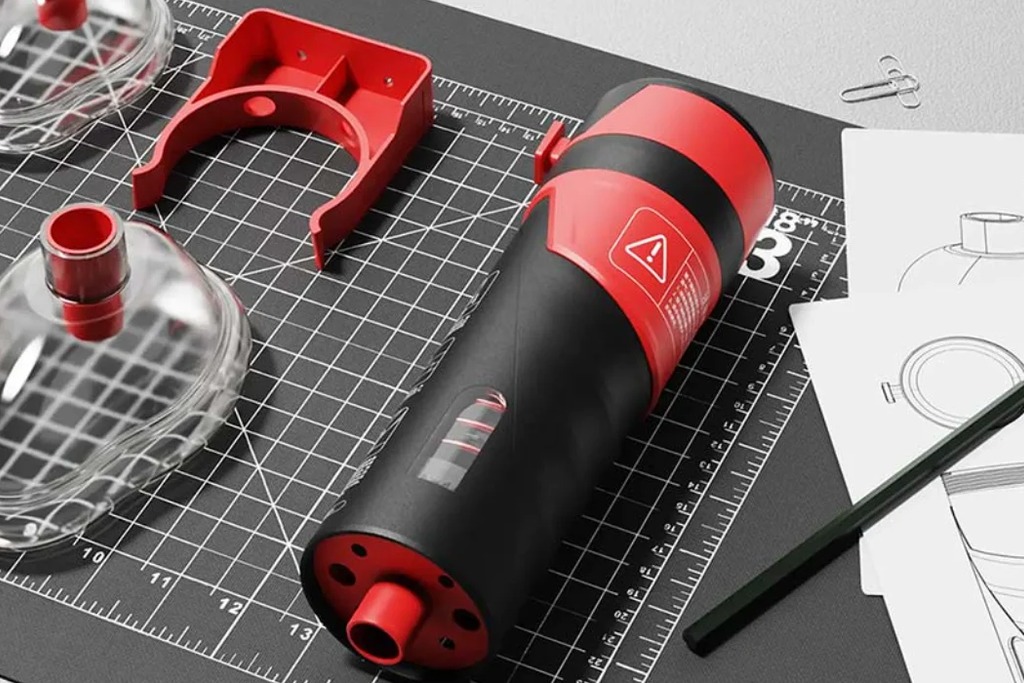
Fewer features often means a better product. One OPD case, an anti-choking rescue device, uses no electronics at all. It is purely mechanical. That choice kept the design simple, and the team took it from concept to manufacturing readiness in 14 months.
Also set numbers for the target. Write down the goal for price, size, weight, and battery life. These numbers turn opinions into facts. When someone asks for a new feature, you can check it against the numbers.
Step 3: Plan the Technology Early
Now decide how the product will work inside, since this step sets the core technology, the main parts, and the software needed.
Ask a few hard questions early:
- Can today’s parts do this at our target price?
- What is the riskiest part of the design?
- Does the product need to connect to a phone or the cloud?
- Who will write and update the firmware?
Test the riskiest part first. If a sensor cannot read well, or a battery cannot last, you want to know in week two rather than month nine, and a quick test with a rough model is often enough.
For connected products, IoT hardware design needs extra care. YStart by choosing a radio type, such as Wi-Fi or Bluetooth. Next, plan the antenna and the power budget. You should also decide how the device will receive updates after it ships.
Security belongs in the plan from day one. Any device that joins a network can be a target. The NIST Cybersecurity for IoT Program offers useful guidance on baseline protections. Adding security later is far harder than building it in. Our Shenzhen, China engineers weigh these choices early, since most of the components you will need sit a short drive away.
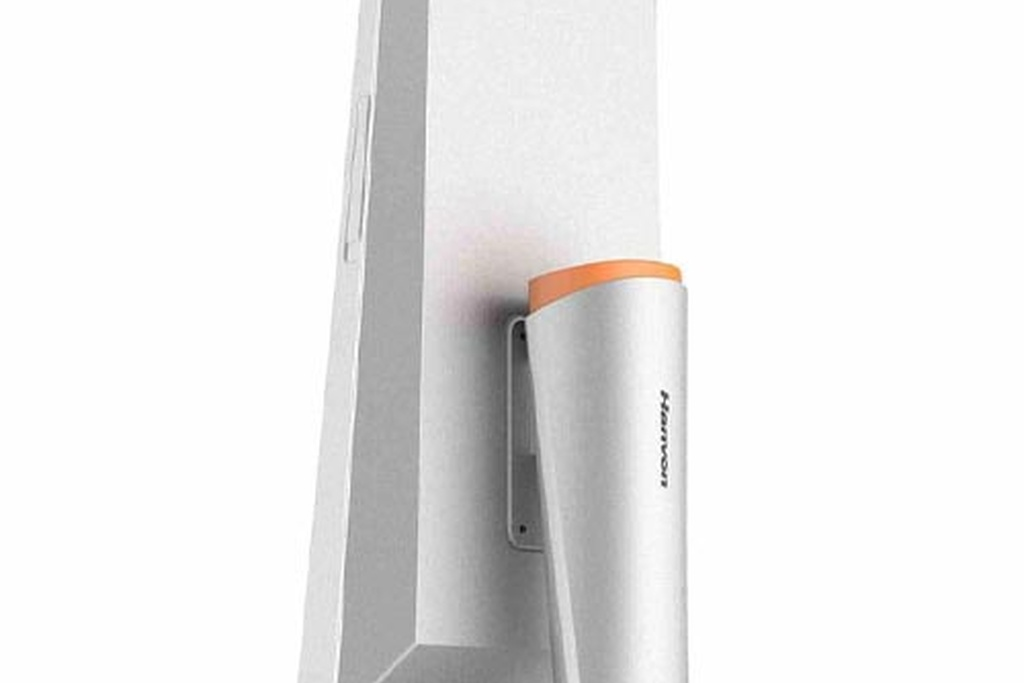
Smart products like a senior care robot show why this matters. Such a device mixes AI, sensors, motors, and cloud links. If the teams work apart, the parts will not fit together. A shared plan keeps hardware, firmware, and app in step.
Step 4: Build Cost Into the Design
Many products fail on cost, not on ideas, because a design that looks great may still cost twice the target to make. As a result, cost must be part of the design from the start.
Begin with a rough bill of materials, which is a list of every part and its estimated cost. List every part and its price. Add the cost of assembly, testing, packaging, and shipping. Then compare the total with your target price. A common rule is that your retail price should be several times your build cost. That gap pays for marketing, support, and profit.
Good mechanical product design helps here. Engineers can cut costs without hurting quality. They can reduce the part count, thin the walls, or merge two parts into one. They also set tolerances that match what the product truly needs. Tolerances that are too tight raise both cost and reject rates.
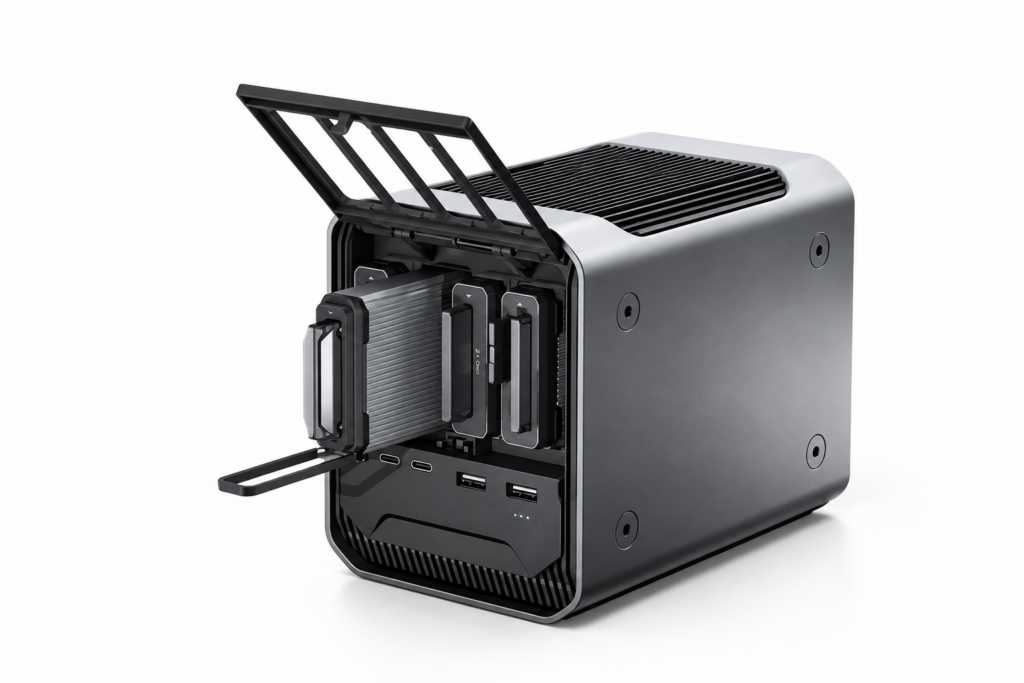
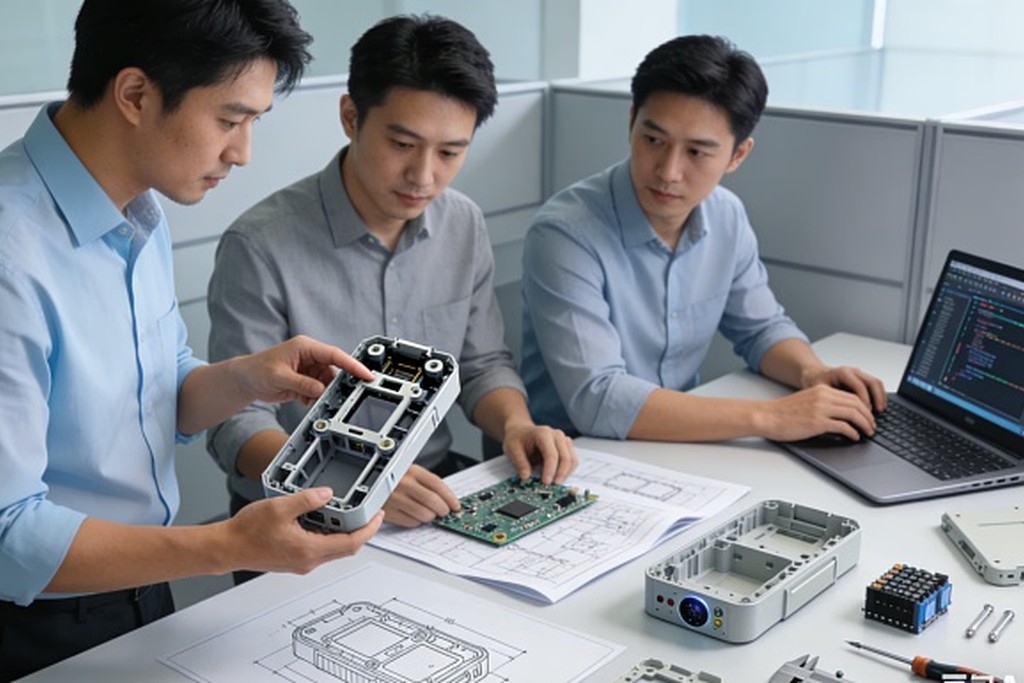
Cost planning matters most for products built in volume and supplied for years. An edge computing device is a good example, since it must handle real processing load while fitting a tight bill of materials. Decisions such as the enclosure, the connectors, and the cooling method all shape the final unit cost. For this reason, set those limits in the plan, not after the design is locked.
Review the cost after each design round. Small changes are cheap on paper and costly after tooling.
Need help shaping your hardware product plan? Our team has helped startups and brands turn early ideas into products that can be built at scale. Book a free consultation to discuss your idea.
Step 5: Test Before You Commit
A design on a screen hides many flaws that a prototype reveals. For example, buttons feel stiff, seams catch dust, and cables do not reach.
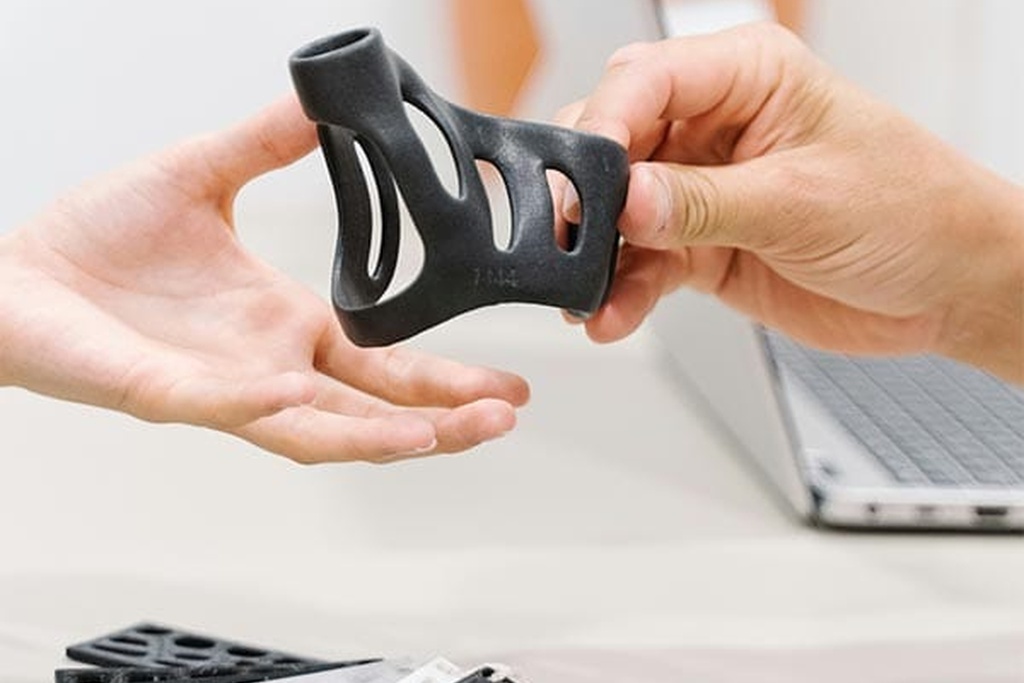
Build prototypes in stages. Start with a rough 3D printed model to check size and shape. Next, build a working version with real electronics. Finally, make a sample with the final color and finish.
At each stage, test the product with real users and watch how they use it. If they struggle, fix the product rather than blaming the user. After that, test it under real-world conditions.
Drop it. Heat it. Cool it. Press the buttons hundreds of times. Check how the battery holds up. These tests feel slow, but they cost far less than a wave of returns after launch.
The cost gap is large. A 3D printed part may cost a few dollars and take a day. A change to a finished mold can cost thousands and take weeks.
Step 6: Plan for Compliance Early
Most hardware products need approval before they can be sold, and the rules depend on the product and the country.
Radio devices need wireless testing, electrical products need safety marks, and anything that touches skin may need material checks. In addition, medical products face stricter rules.
If you plan to sell in the US, read the FCC equipment authorization rules early. They cover any device that sends radio signals.
Treat compliance as a design input, not a last step. A failed test late in the project can force a hardware change. That means new tooling and lost weeks. Picking approved radio modules and safe materials early lowers this risk.
Step 7: Prepare for Manufacturing
A prototype is not a finished product because making one unit by hand is very different from making ten thousand on a production line. For this reason, this step focuses on getting your design ready for the factory.
At a strategy level, this step covers three things: making the design easy to build, confirming the tooling, and proving the process with a small pilot batch. Based in Shenzhen, China, we plan manufacturing around one of the world’s most complete hardware supply chains, so a design change can move from file to sample in days rather than weeks.
The detailed work here, such as design for manufacturing, tooling review, supplier coordination, and pilot runs, is where manufacturing support services take over. Your strategy sets the direction. From there, the manufacturing team can carry out the plan on the factory floor.
Step 8: Launch and Learn
A great product still needs a great launch, so plan it well before the first unit ships.
Four things matter most: brand, packaging, price, and channels. Your brand should be clear and easy to remember. Packaging has two jobs. It protects the product in transit, and it helps sell it on a shelf or a screen.

Packaging can also cut costs. In one OPD case, a tea brand reorganized its packaging line in a lower-cost and more memorable way. Good packaging is part of the strategy, not a finishing touch.
Choose your sales channels with care. For example, you might use an online store, marketplaces, retail partners, or trade shows. At first, focus on one or two options. Once you know what works, you can expand.
After launch, listen: read reviews, track returns, and log support questions. This feedback shows what to fix now and what to build in version two. Therefore, the best teams treat launch as the start of a loop, not the end of a project.
Common Strategy Mistakes to Avoid
A few patterns show up again and again in late or failed launches:
- Falling in love with the technology before checking the market.
- Adding features until the budget is gone.
- Ignoring build cost until the design is locked.
- Leaving compliance to the last month.
- Splitting design, engineering, and production between teams that never talk.
In most cases, these mistakes share one root cause. The plan treats each stage as a separate job. In reality, they are part of one connected process. For example, a choice in Step 2 can change the cost in Step 7.
Final Thoughts
A product development strategy will not remove every risk, but it removes the risks you can avoid. As a result, it keeps the team focused on one buyer, one promise, and one budget.
Start with the market, set a tight scope, and plan the technology and cost together. Next, test early and prepare the factory before launch. After the product reaches customers, listen to their feedback and use it to improve the next version.
Hardware is hard, but it is not a mystery. With a clear plan, each step protects the next, and your idea has a real path to market.
Build Your Hardware Product Development Strategy
Moving from a rough idea to a manufacturable hardware product is where many teams lose time and money. OPD Design’s Shenzhen team helps you set a sharp market position, plan the technology and cost together, and launch with fewer surprises.
Frequently Asked Questions
1. What is a product development strategy?
They are services that prepare a product for production. They include design review, prototyping, testing, supplier coordination, and production support. Their goal is better quality and a faster launch.
2. When should I write my product development strategy?
Write it before you spend money on design or tooling. Update it after each major phase as you learn more. A strategy is a living document, not a one-time file.
3. How is hardware strategy different from software strategy?
Hardware changes are slow and costly once tooling begins. You also deal with parts, factories, shipping, and safety rules. So hardware plans need more care up front, and more testing before launch.
4. How many features should my first product have?
As few as it takes to solve the main problem well. Launch with the must-have features. Use early sales and reviews to decide what to add next.
5. Should I plan for compliance from the start?
Yes. The tests you need depend on the product type and the countries where you sell. Knowing this early helps you pick parts and layouts that pass on the first try.