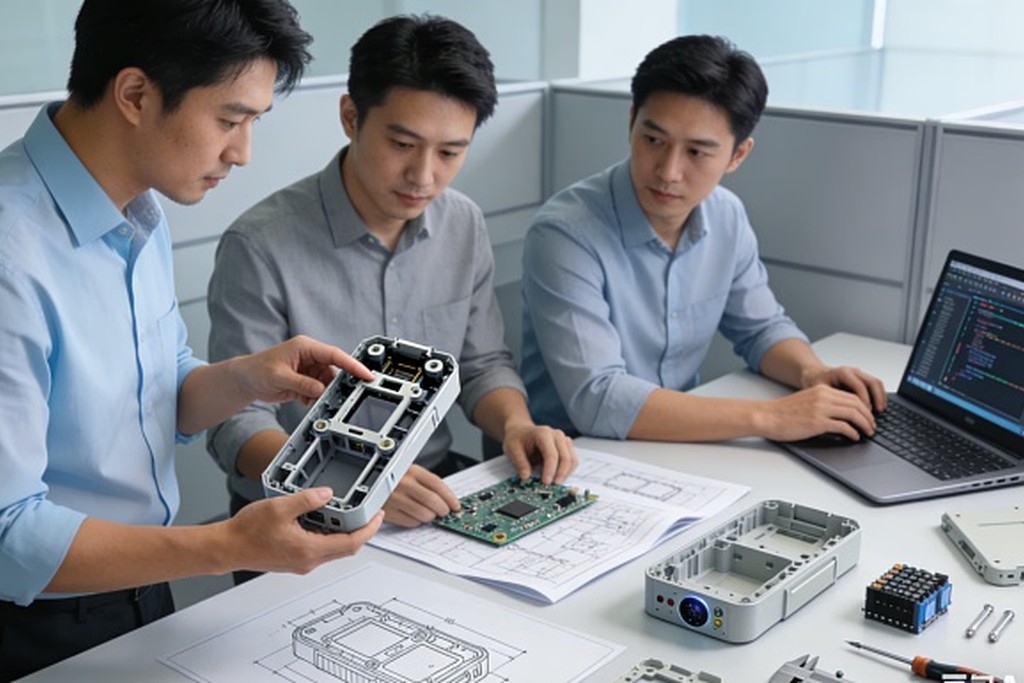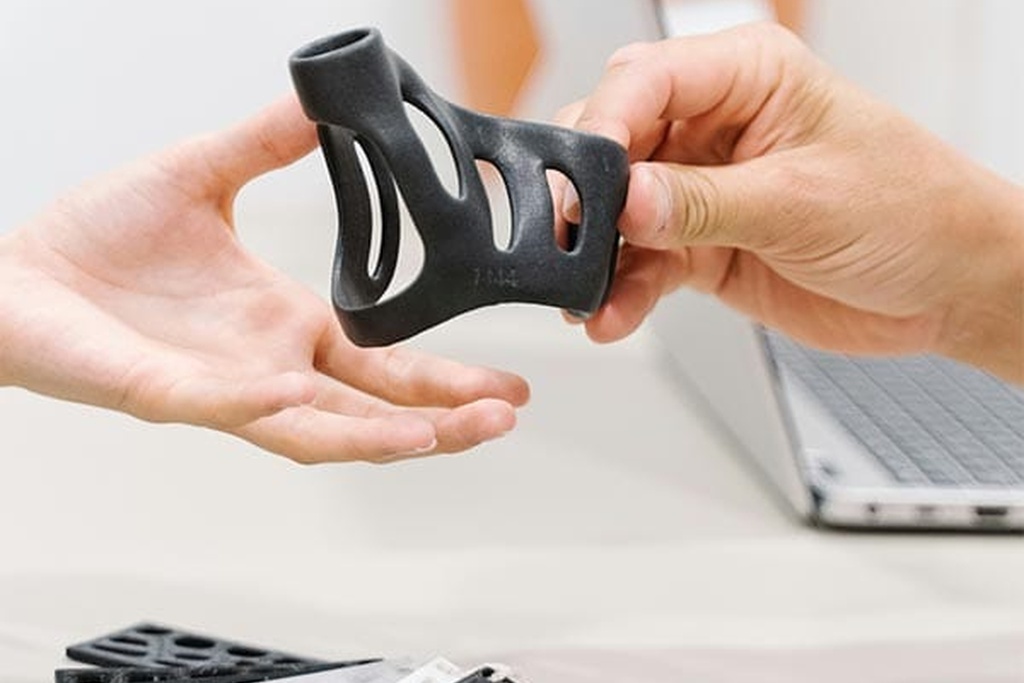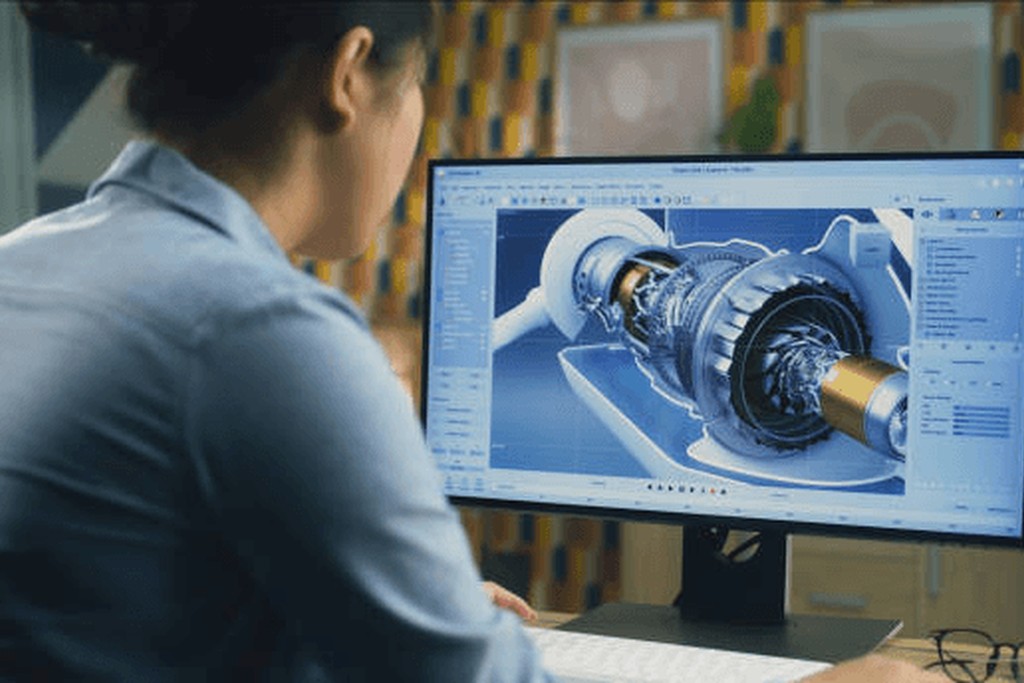

Hardware product development moves an idea through eight stages: research, concept, prototype, engineering, integration, tooling, compliance, and launch. However, most products fail at one of three points: weak user research, skipped prototype rounds, or a design that cannot be made at scale. For this reason, this guide explains each stage in plain language so you can plan a realistic budget, timeline, and team before you spend money. A product development company can also help guide these stages, from the initial concept through launch.
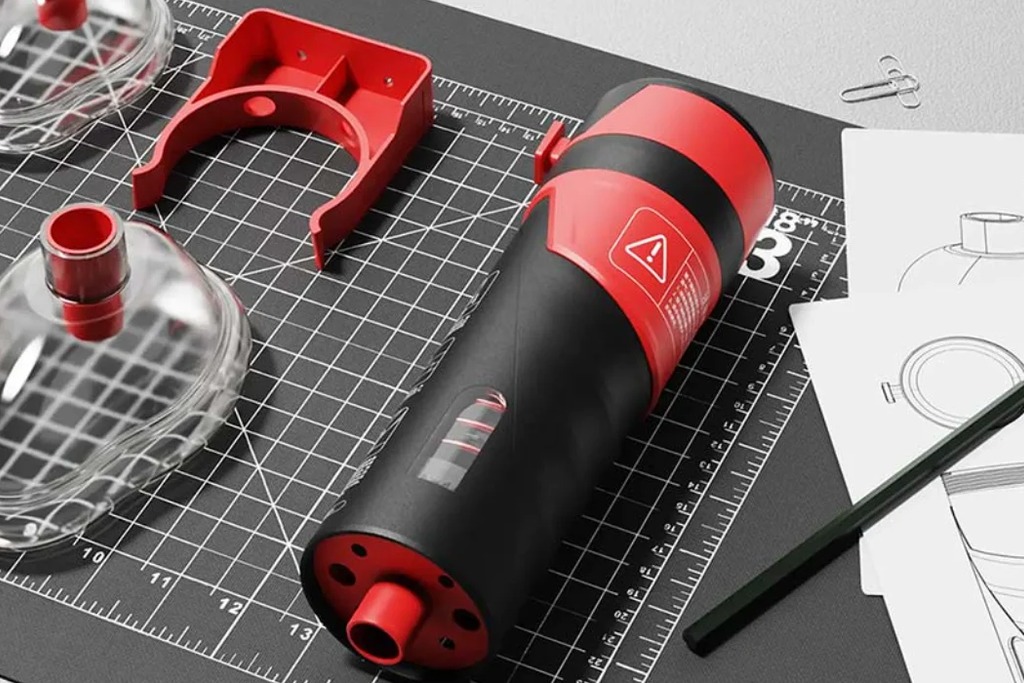
Turning an idea into a real product is exciting. At the same time, it can become expensive when the order of steps is wrong.
Software lets you ship and patch. Hardware does not. Once a steel mold is cut, a change can cost thousands of dollars and weeks of delay. Therefore, the goal is simple: find mistakes early, while they are still cheap to fix.
In this guide, you will learn how the full hardware product development process works. The approach is based on how a working product development team runs real projects, rather than theory alone.
What Is Hardware Product Development?
Hardware product development is the process of turning an idea into a physical product you can sell.
The process covers research, design, engineering, prototyping, tooling, testing, and production. Each stage answers an important question: Do people want this? Can we build it? Can we produce 10,000 units at a price that works?
Most teams need three skill sets. Industrial design shapes the product’s look and feel, while mechanical and electronic engineering handles the internal parts. Manufacturing expertise, meanwhile, helps make the product consistently at scale. However, few startups have all three skills in-house. That is why many choose a product design services partner instead.
Step 1: Market Research and Demand Analysis
Start with the buyer, not the product.
Goal: Find out whether a real group of people has a real problem and will pay to solve it.
What to Do
Talk to users: Interview 15 to 20 people in your target group. Ask what they do today instead of asking what they might buy.
Study competitors: Buy the top three rival products, take them apart, and note where they fall short.
Pick a position: Based on your research, write one sentence that explains who the product is for and why it offers a better solution.
This stage is cheap, but skipping it can be expensive. A clear brief saves time later. In addition, product strategy consulting can turn these findings into a feature list that engineers can price.
Step 2: Concept Design and Product Definition
Now you turn the brief into a shape.
Goal: Move from a vague idea to a defined product with a fixed feature list.
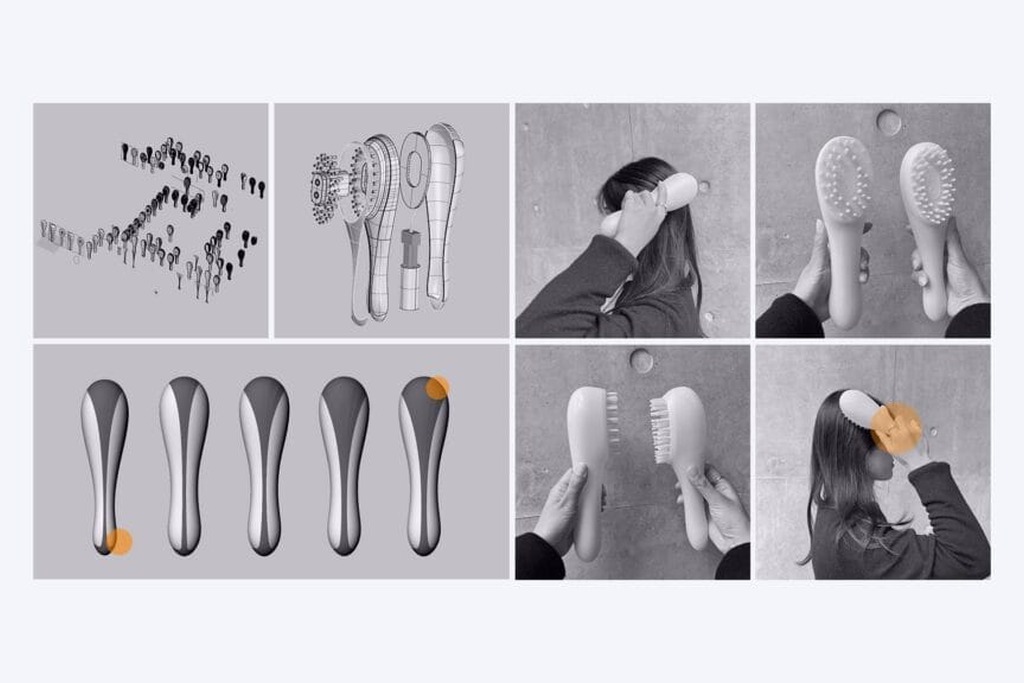
Designers sketch several directions. The best ones get modelled in 3D. You review size, grip, button placement, and material feel. At the same time, engineers write the specification. That means battery life, weight, ports, sensors, and target cost.
Two documents matter here. The first is the feature list. The second is the cost target. Write both down and agree on them. Every later argument gets settled by these two pages.
This is also where industrial product design services and engineering must work together. A beautiful shell that cannot fit the battery is a wasted month.
Step 3: Prototype Development and Testing
A prototype is your cheapest form of proof.
Goal: Hold the product in your hand and find out what needs to change.
You will usually build several versions.
Looks-like models: 3D-printed or CNC-machined models that test size, weight, and comfort.
Works-like models: Loose boards and wiring that test how the product functions.
Looks-like and works-like models: A combination of both, which can be used for investor presentations and user testing.
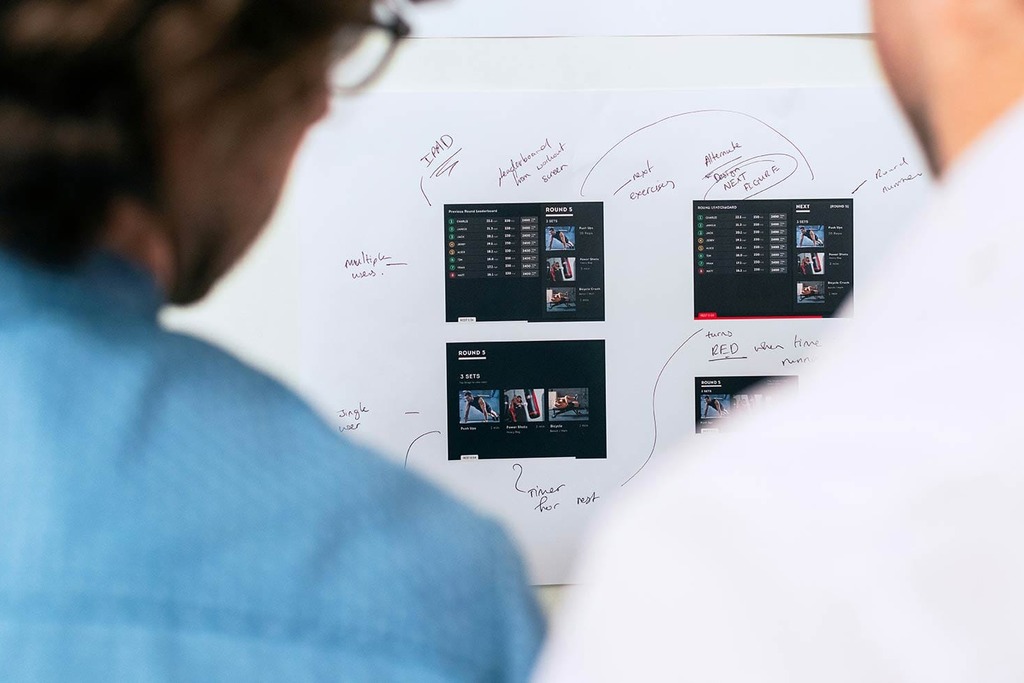
Give the prototype to ten real users and watch how they interact with it. Instead of explaining what to do, observe what they touch first and where they hesitate. Their confusion can reveal problems that your team may miss.
Teams that use product prototyping services often run three to five rounds before freezing the design. Although this may seem slow, it is usually faster than fixing a mistake after tooling.
Step 4: Hardware and Software Development
This is the heavy engineering phase, and it runs on two tracks at once.
Hardware Track
- Schematic design: Engineers choose the chip, sensors, power path, and radio.
- Next, PCB layout: The board is routed for signal quality, heat management, and EMC.
- During component selection, engineers check each part for price, availability, and lifecycle. A chip that goes out of stock can stop your production line.
- Meanwhile, mechanical work covers housings, seals, snap fits, and mounting bosses designed for real manufacturing. This is where mechanical product design meets the factory.
Good electronic hardware design at this stage helps control the product’s unit cost throughout its life. For that reason, finding major savings later can be much harder.
Software Track
- Firmware: Code running on the chip manages sensors, power, and safety functions.
- App and cloud: Connected products often need a phone app and backend system for pairing, updates, and data.
Build both tracks together. If firmware waits for final hardware, your schedule doubles. Many teams add software development services in parallel from day one for this reason.
Step 5: Integration and Validation
Parts that work alone can still fail when combined. Therefore, integration focuses on proving that the complete system works reliably, rather than testing each module in isolation.
Typical testing includes:
Functional testing: Does every feature work as written in the specification?
Drop and stress testing: Can the product withstand a fall from one metre?
Thermal testing: Does it overheat when charging in a hot room?
Battery and power testing: Does it meet the claimed runtime under real-use conditions?
EMC pre-testing: Does it interfere with other electronic devices?
Some failures are expected during this stage. After an issue appears, the team fixes the problem, rebuilds the product, and tests it again. In many cases, two or three testing loops are normal.
Planning a Hardware Product? Our team has helped startups and global brands take products from sketch to shelf: design, engineering, tooling, and production under one roof. Book a free consultation to talk through your idea.
Step 6: Tooling and Mass Production Preparation
Now the design is locked and ready for tooling.
Goal: Make the product repeatable at the right cost and quality.
DFM review: Engineers adjust wall thickness, draft angles, and ribs so parts can come out of the mold cleanly.
Tooling: Steel molds are cut. Good injection mold design helps prevent flow marks, sink, and warping.
T1 samples: The first parts come out of the mold. The team measures, assembles, and tests them.
Pilot run: A small batch, usually 50 to 500 units, tests the production line, tools, and workers.
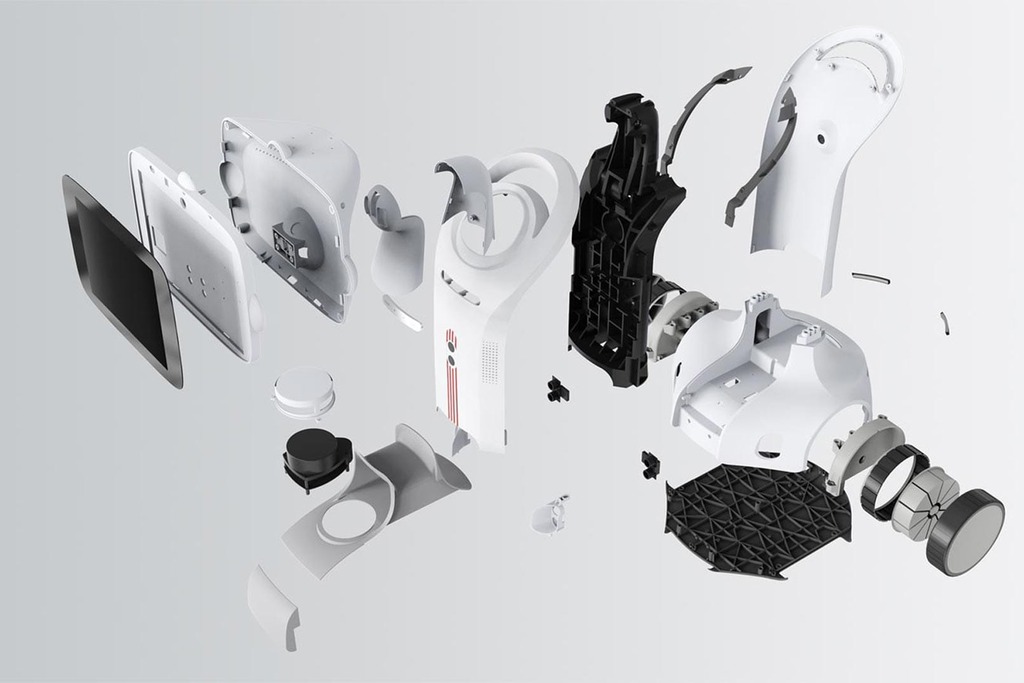
Tooling is a major cost commitment. Therefore, freeze the design before cutting steel. Late changes can increase both costs and production delays.
Solid manufacturing support services cover supplier checks, line setup, test fixtures, and inspection rules. Quality systems such as ISO 9001 give the factory a documented way to keep every batch the same.
Step 7: Certification and Compliance
You cannot ship without paperwork.
Which marks you need depends on the product and the market:
- CE for the European Union
- FCC for radio and electronics in the United States, under FCC equipment authorization rules
- UL or ETL for electrical safety in North America
- RoHS and REACH for restricted materials
- FDA or MDR for medical devices
Plan tests early. Certification can take four to twelve weeks. If a test fails, you may need a board change and a retest.
Working with a product compliance consulting team during design, not after it, keeps that risk small.
Step 8: Launch and Market Promotion
The product is ready. Now people need to find it.
Goal: Get the first thousand customers and learn fast from them.
Work Through Four Things
- Packaging: It is your last salesperson. Thoughtful product packaging design protects the product in transit and lifts conversion on the shelf.
- Brand and story: A consistent look builds trust. A clear brand identity process keeps your site, box, and ads aligned.
- Channels: Pick two to start. Your own store plus one marketplace is often enough.
- Feedback loop: Read every review and support ticket. Feed the themes into version two.
How Long Does Hardware Product Development Take?
Timelines vary by complexity. These ranges reflect typical consumer electronics projects:
| Stage | Typical Time |
| Research and concept | 3–6 weeks |
| Design and engineering | 8–16 weeks |
| Prototyping rounds | 6–12 weeks |
| Tooling and T1 samples | 6–10 weeks |
| Certification | 4–12 weeks |
| Pilot to mass production | 4–8 weeks |
Most simple products reach mass production in nine to twelve months. Complex or regulated products take longer.
Four Mistakes That Sink Hardware Projects
1. Adding Features Late
Every new feature restarts testing. Freeze the list early.
2. Choosing a Factory Too Late
The factory shapes the design. Bring them in before tooling.
3. Ignoring Cost Until the End
Unit cost is set in design, not in negotiation.
4. Testing With Friends Only
They are polite. Strangers are honest.
Why Work With a Product Design Company in China
Shenzhen sits inside the world’s densest hardware supply chain. Parts, molds, and assembly lines are within an hour of each other. That shortens every loop in the process.

A full-service product design company in China can hold design, engineering, prototyping, and production in one team. You get one point of contact instead of five vendors blaming each other. For most startups, that is the difference between shipping and stalling.
Frequently Asked Questions
1. How Much Does Hardware Product Development Cost?
Most small consumer products cost between $30,000 and $150,000 to develop, before tooling. Tooling adds $5,000 to $50,000 depending on part count and finish. Complex or medical products cost more.
2. What Is the Difference Between a Prototype and a Production Unit?
A prototype is made one at a time, often by 3D printing or CNC. A production unit comes out of a mold on a line. They can look the same and behave very differently, which is why pilot runs matter.
3. Do I Need a Patent Before I Start?
File at least a provisional application before you show the product publicly. Talk to a patent attorney early, since public disclosure can limit your rights in some countries.
4. Can I Develop Hardware Without an Engineering Team?
Yes. Many founders work with an outside product development partner that supplies industrial design, mechanical, electronic, and firmware engineers as one team.
5. What Is the Most Common Reason Hardware Projects Fail?
Running out of money before mass production. It usually happens because the design was not frozen early enough, so prototype and tooling rounds kept repeating.
Ready to Build Your Product?
Every strong product starts with a clear plan and an honest look at the risks. If you have an idea and want to know what it will take, we can help you map the path.
Talk to our team for a free consultation.