
Hardware prototyping turns a schematic into a working board you can actually test. A hardware design company can help guide this process from schematic design and PCB layout through firmware, testing, and certification. This guide walks through the real stages and shows where each one tends to go wrong. Skip a stage, and it usually costs you months later.

A board that works on the bench can still fail in the field. Hardware prototyping exists to catch that gap early, while it’s still cheap to fix. This guide covers what it actually involves: picking components, building the circuit, testing it, and getting it ready for a factory. It also covers the mistakes that show up again and again — and what they usually cost you.
What a Hardware Design Company Actually Does
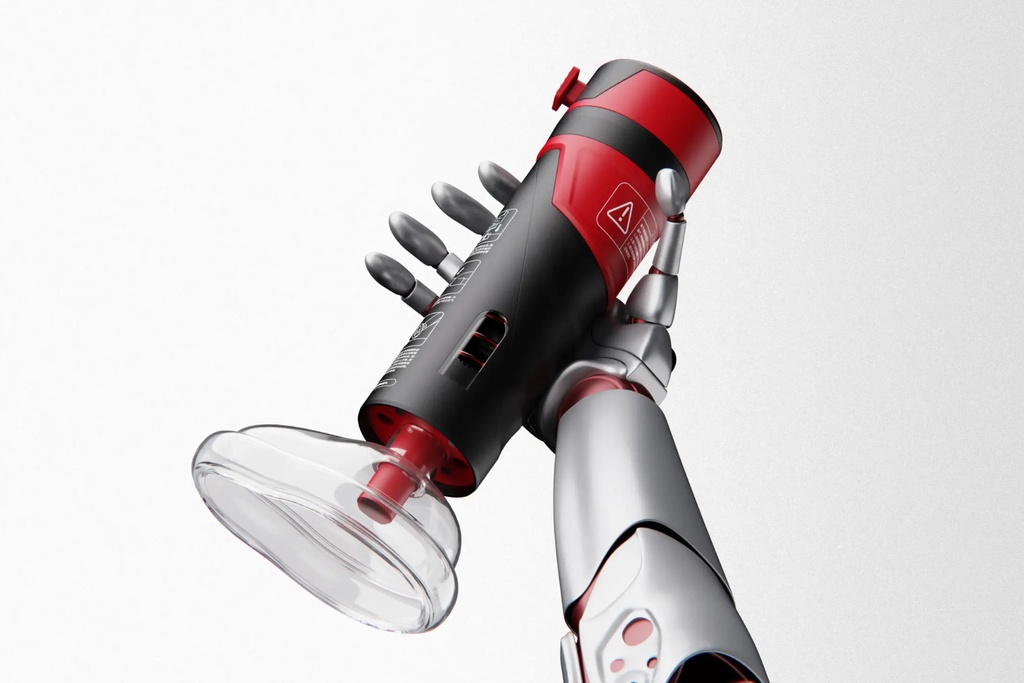
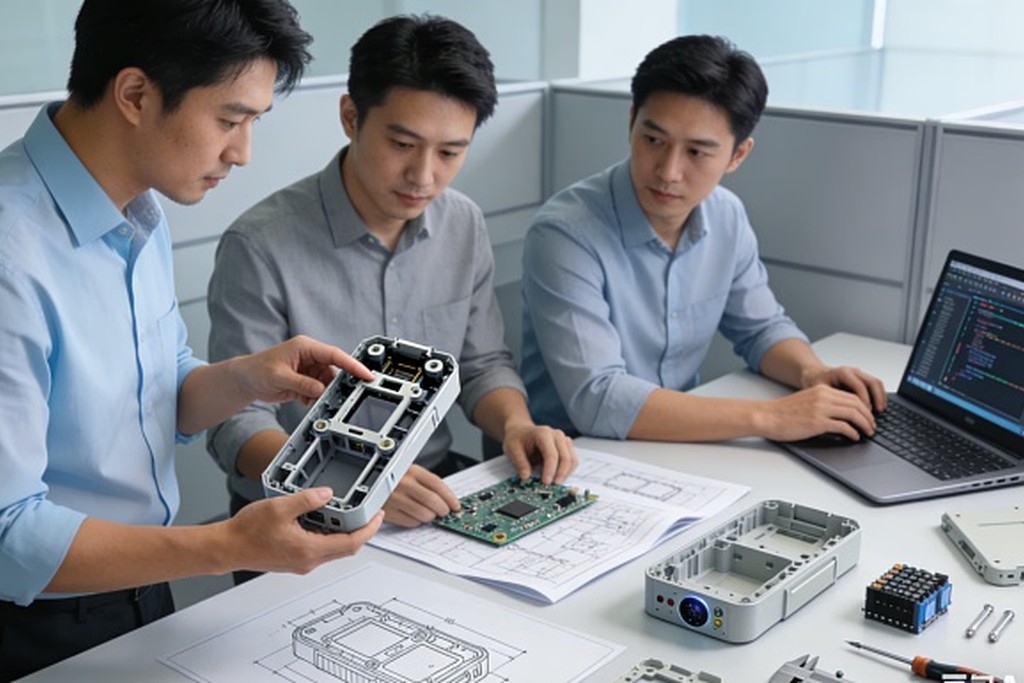
Hardware design breaks into five parts: architecture, schematic, PCB layout, firmware, and testing.
Architecture comes first. A team picks the chip, the wireless type, the power source, and the sensors. Get this wrong, and every later stage inherits the mistake. Changing an MCU after schematic design is a full restart. Changing it after the PCB layout is worse.
Schematic design turns that plan into real circuits. This is where power, wireless, motors, and protection circuits get defined. Good teams build in noise resistance here, not later. They also plan for component sourcing at this stage. That means checking which chips are actually in stock, and which ones might vanish from the market in a year.
PCB layout is where most beginner mistakes happen. How traces route, how many layers the board uses, and how heat moves through it all matter. Together, they decide whether the board behaves the same way in a customer’s hand as it did on a desk. A trace routed too close to a power line can pick up noise that never shows up in a simulation, only in the field.
Component selection sits underneath all of this. Picking a part because it’s cheap, without checking its lifecycle status, is a common mistake. It’s one of the top reasons a product gets redesigned a year after launch. A chip that gets discontinued mid-production forces a full requalification, even if the replacement part is nearly identical.
Why Prototyping Comes Before Mass Production
A prototype tests a decision while it’s still cheap to change. Skip it, and that same decision gets expensive once it’s locked into a mold or a production line.
Most hardware teams run through three rounds:
- EVT (Engineering Validation Test): Does the circuit work at all? Rough case, bare board, basic checks.
- DVT (Design Validation Test): Does it work like the real product? Closer-to-final case, full firmware, stress tests.
- PVT (Production Validation Test): Can a factory build this the same way every time? Real tooling, real assembly line, real numbers.
Here’s how those three stages actually compare in practice:
| Stage | Main Question | Typical Build | Rough Cost to Fix an Issue |
| EVT | Does the circuit work? | Bare board, no case | A few hundred dollars, about a week |
| DVT | Does it work like the final product? | Near-final case, full firmware | A few thousand dollars, two to four weeks |
| PVT | Can a factory build it at scale? | Real tooling, full assembly line | Tens of thousands, one to three months |
A fix after EVT might cost a few hundred dollars and a week. The same fix caught after tooling is cut can cost thousands, and add a month to your schedule. That gap is the whole reason to prototype early, and it only grows wider the closer a product gets to mass production.
Inside PCB Design and Firmware

Layer count isn’t a style choice. It’s set by signal speed, power needs, and how tight your noise budget is. A simple sensor board might need two layers. A busy IoT board with wireless, a screen, and a motor often needs four to eight.
Good electronic hardware design follows known industry rules for trace spacing and part placement. These standards come from the Global Electronics Association, formerly IPC. Skip them, and a board can pass simulation, then fail on the assembly line.
EMC and ESD protection matter more than most founders expect. A board can work fine on an isolated test bench. Then it misbehaves once it sits near a phone charger, a motor, or another radio. Protection circuits and shielding aren’t extras added at the end. They’re part of the schematic from day one, because retrofitting them into a finished layout usually means a full board respin.
Thermal design follows the same logic. A chip that runs hot in a bare-board test can run far hotter once it’s sealed inside a case. Especially a plastic case with no airflow. Copper pours, thermal vias, and component spacing all need to account for the final enclosure, not just the open-air prototype.
Firmware is what makes the hardware do anything useful. It handles the drivers, the wireless link, sensor data, and power saving. It has to be built alongside the board, not bolted on after. A board designed without firmware input often ends up with an awkward pin layout. That makes the code harder to write than it needed to be.
Testing and Certification
A board that boots is not a board that’s ready to sell. Testing checks function, signal quality, heat, and how the product holds up under drops and daily use.
Environmental testing usually covers three things. A drop test from about a meter. Temperature cycling from freezing to well above room temperature. And an IP rating check, if the product needs resistance to dust or water. Skipping these checks doesn’t remove the risk. It just moves the risk from your test bench to your customer’s living room.
Certification runs at the same time, not after. Any product with a radio inside needs FCC equipment authorization before it ships in the US, plus CE marking for Europe. Planning product compliance consulting into the design stage avoids a common trap: finishing a board, then learning it needs a hardware change to pass a test.
Building a connected or electronic product, and not sure which stage you’re at? Our team has taken 100+ hardware projects from schematic to mass production in Shenzhen. Book a free consultation to talk through your product.
Where IoT Fits Into Hardware Design

A connected product has to talk to a phone, a hub, or the cloud. That’s a layer most teams underestimate.
It means picking the right link for the job. Bluetooth for a wearable. Wi-Fi for a smart home device. A mesh protocol for a system with many devices. Then testing that link under real interference, not just in a quiet lab.
Battery life adds another layer of trade-offs. A radio that stays connected all the time drains a battery fast. Most connected products solve this with a sleep cycle: the device wakes briefly, sends its data, then powers down again. Getting that cycle right is as much a firmware problem as a hardware one. It usually takes a few rounds of real-world testing to tune.
Good IoT hardware design plans for this from day one. A recent OPD project, an AI interactive terminal, used NFC chip recognition paired with real-time audio. That link had to be built in from the start, not added at the end.
Getting Ready for Manufacturing
Once a design clears DVT, the question shifts. Can a factory build it the same way ten thousand times in a row?
This is where parts sourcing, cost checks, and build-friendly design choices matter most. A part that’s easy to hand-fit on a prototype can jam up a full assembly line if nobody checked for that early. Fewer unique components, standard connectors, and no hand-soldered steps: all of it makes a board faster and cheaper to build at scale.
Good manufacturing support services cover this handoff. That means test fixtures, supplier coordination, and a small pilot run to catch assembly problems before a warehouse fills with finished stock. A pilot run of a few hundred units costs little. Finding the same issue after ten thousand boards are built costs a great deal more.
Common Hardware Prototyping Mistakes
A few patterns show up again and again in delayed hardware launches:
- Locking the PCB layout before firmware requirements are fully known.
- Skipping EMC and ESD protection because the prototype “worked fine” without it.
- Choosing a component based on price alone, without checking its supply lifecycle.
- Treating certification as a final step instead of an early design input.
- Designing the board and the enclosure in separate silos that never talk to each other.
Most of these share one root cause. Teams treat hardware, firmware, and mechanical design as separate jobs. Separate people handle each one, instead of a single owner running one connected process.
Real Products Built This Way

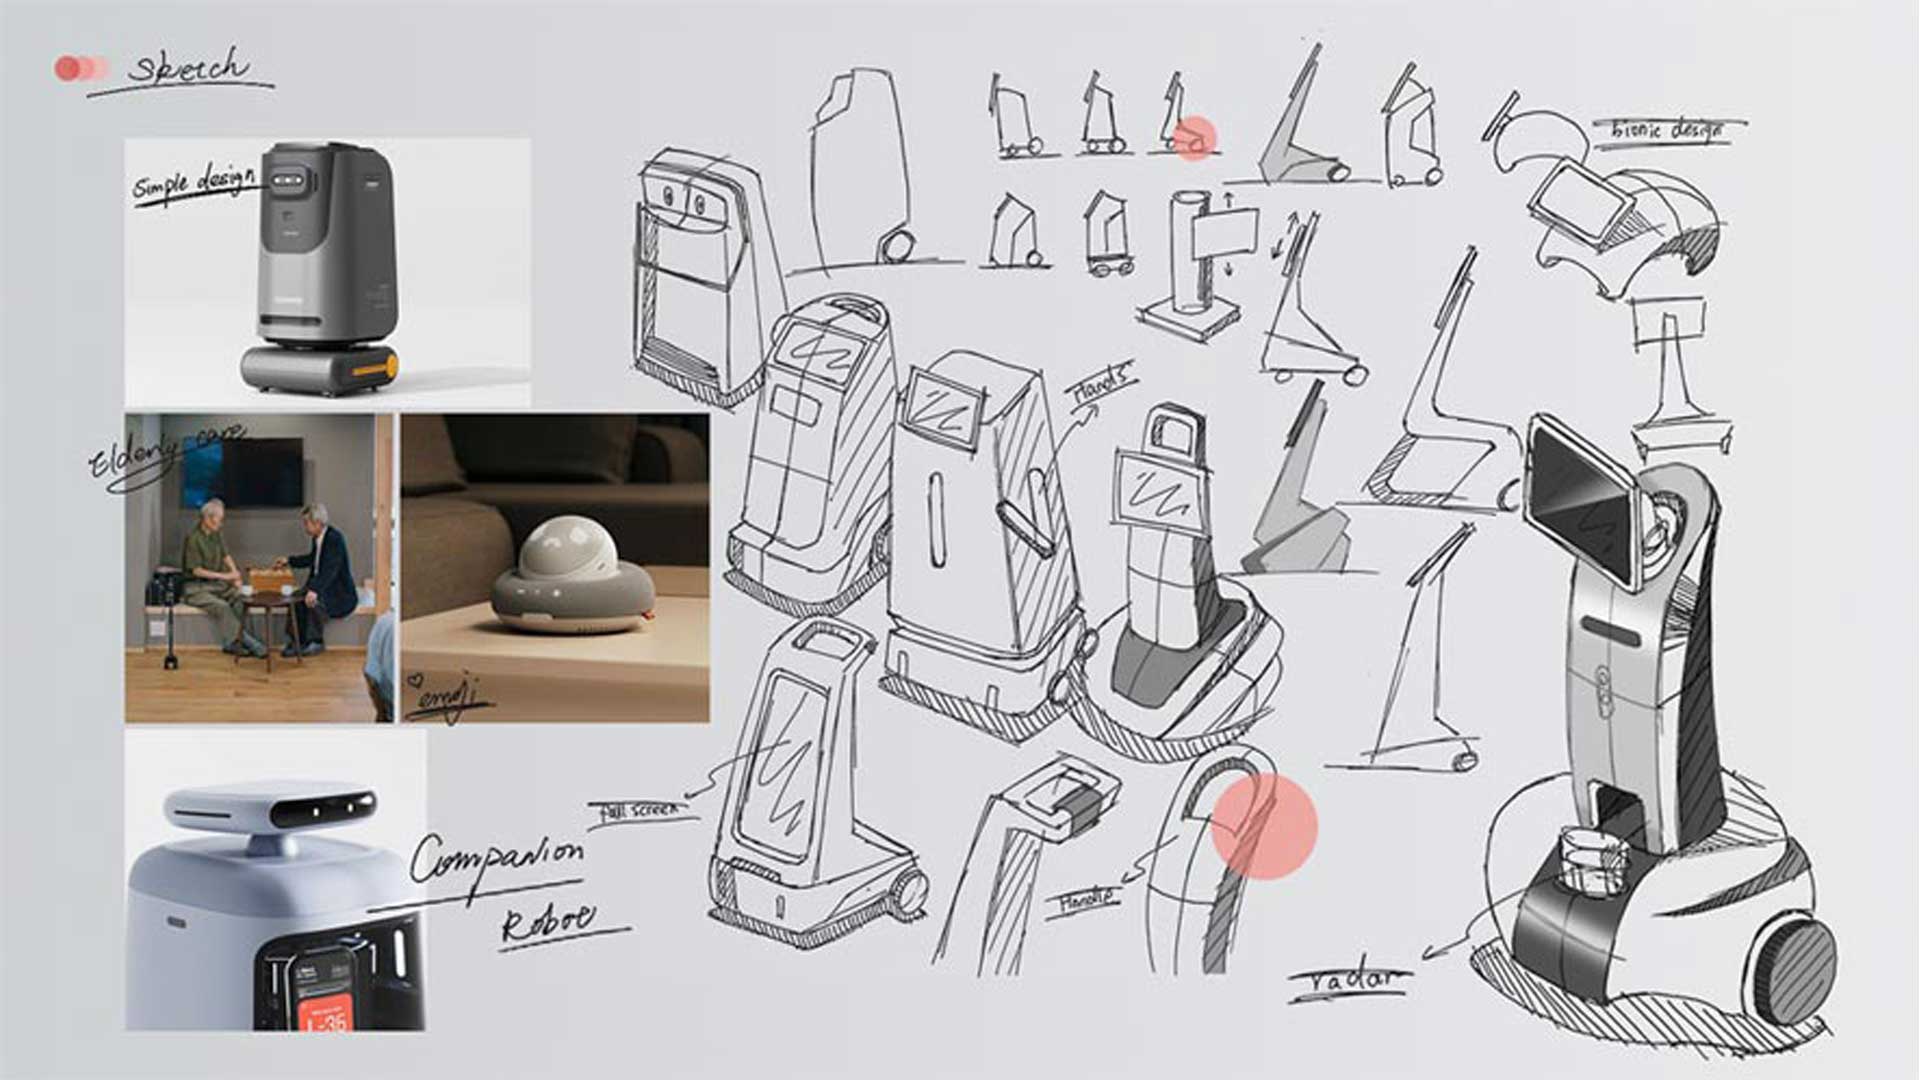
A care robot OPD built combines safety sensors, monitoring, and an emergency response system. Firmware, sensor placement, and the housing all had to be tested together, not as separate jobs. A sensor that read correctly on an open bench needed recalibration once it sat behind the robot’s outer shell.
That’s the pattern worth remembering. A sensor that works fine on a bare board can behave differently once it’s sealed inside a case. Good mechanical product design accounts for that early, not after the boards come back from the factory. The same lesson applies to any hardware product with a shell, from a wearable to a countertop appliance.
Bringing It Together
Hardware prototyping isn’t one step. It’s a chain of cheap tests that replace expensive mistakes. That runs from an EVT board you can hold in a week, to a PVT run that proves your factory can build it at scale.
Skip a stage to save time, and that time comes back later with interest. Usually as a redesign, a failed test, or a mold that needs rework.
At OPD Design, we run architecture, schematics, PCB layout, firmware, and hardware prototyping services under one roof in Shenzhen. Our mechanical and manufacturing teams then carry the board through to a finished, certified product. Get in touch to talk through where your product stands right now.
FAQs
1. What is hardware prototyping?
Hardware prototyping means building a working, physical version of a circuit board or electronic system. It tests whether the design actually functions, before you commit to mass production tooling. It also gives investors, partners, and manufacturers something real to react to, instead of a slide deck.
2. What’s the difference between EVT, DVT, and PVT?
EVT checks whether the core circuit works at all. DVT tests a version that looks and acts like the final product, under real conditions. PVT proves a factory can build it the same way at full volume. Each stage closes a different kind of risk. Skip one, and you usually discover that risk much later, at a much higher cost.
3. How much does a hardware prototype cost?
It depends on complexity. A simple single-board prototype might run a few hundred dollars. A system with wireless, sensors, and a custom case can run into the thousands. Either way, it’s far cheaper than fixing the same problem after tooling. By then, a single design change can mean cutting a new mold.
4. Does my product need FCC or CE certification during prototyping?
Not right away, but plan for it early. Any product with a radio, battery, or connected feature should get pre-compliance testing during DVT. That way a certification failure doesn’t show up after tooling is already cut. By then, a hardware fix is far more expensive to make.
5. How long does it take to go from prototype to mass production?
For a moderately complex electronic product, three to six months is typical from EVT through PVT. Simple boards move faster. Products with heavy compliance needs, like medical devices, often take longer, since certification testing itself can add several weeks to the schedule.