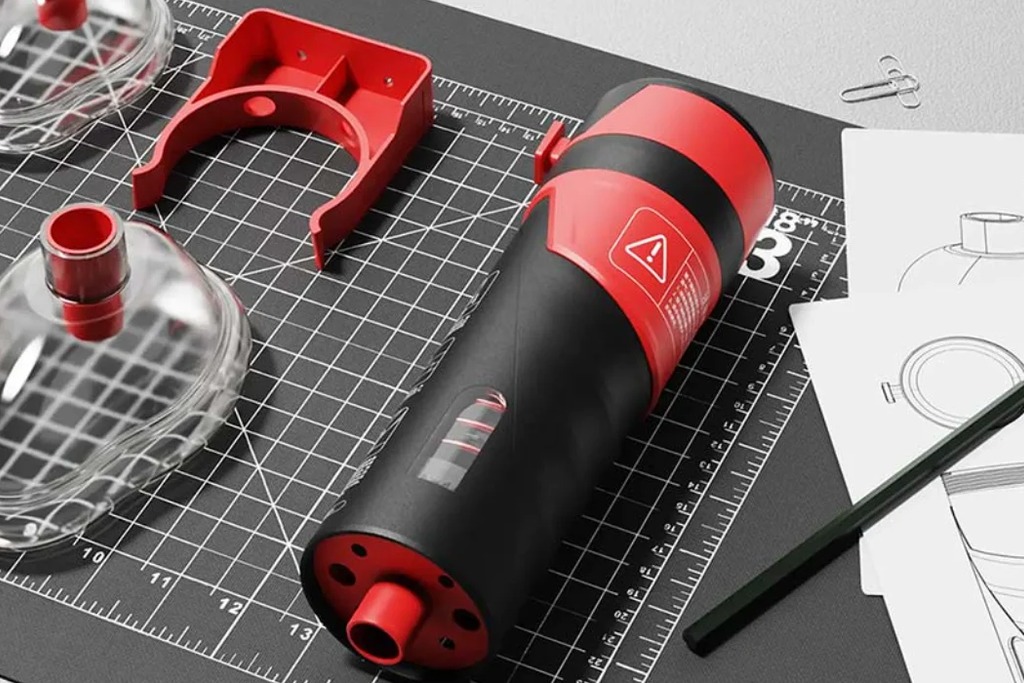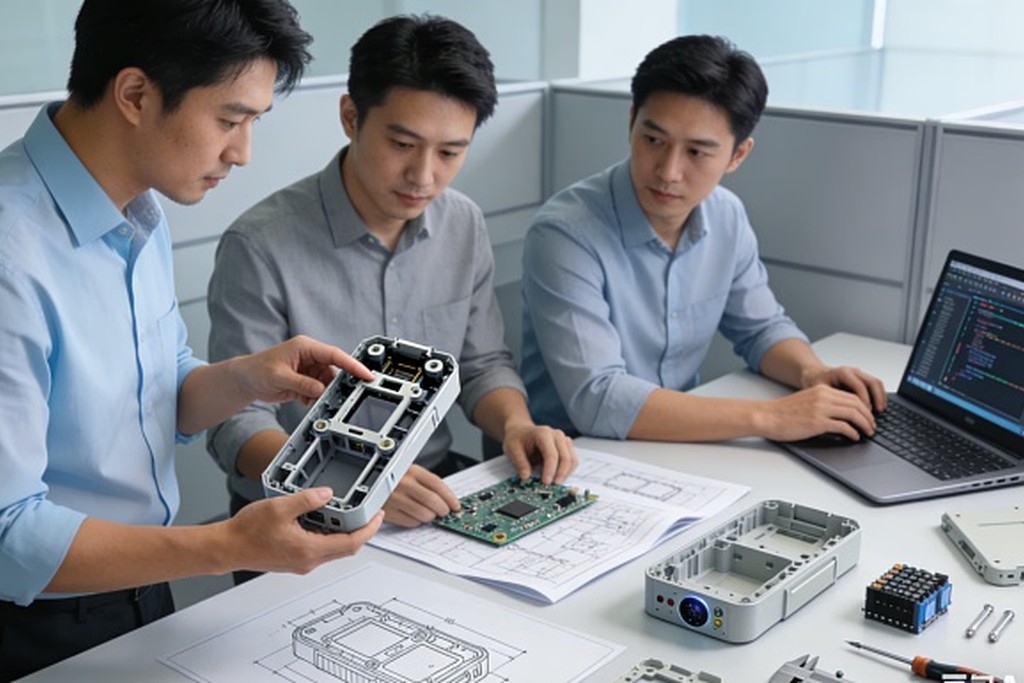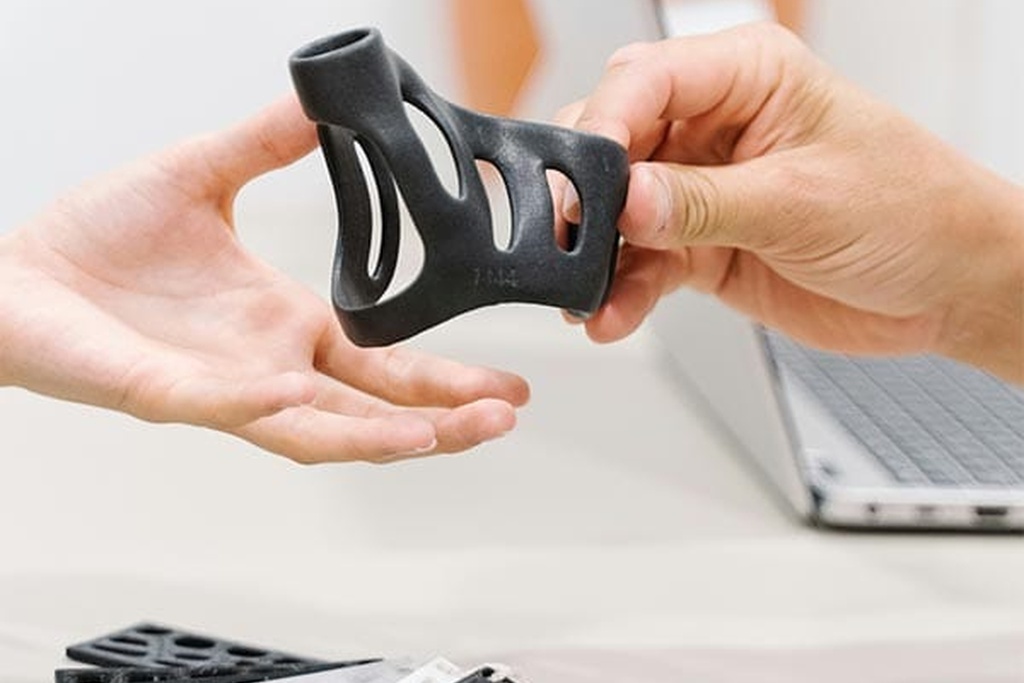

A working prototype can make a product feel almost finished. The enclosure exists, the electronics turn on, the main feature works, and the team can finally demonstrate the idea.
But a prototype is not yet a repeatable manufacturing system.
Moving from one successful unit to hundreds or thousands of consistent products requires engineering validation, design refinement, production documentation, tooling, supplier preparation, compliance testing, pilot production, and controlled ramp-up. Each stage removes a different type of uncertainty, and problems discovered in one stage can send the product back to an earlier one.
For a typical custom hardware product, a reasonable prototype to mass production timeline is approximately four to nine months after a mature functional prototype exists. A simple product with established components and little custom tooling may move faster. A connected, regulated, sealed, wearable, or mechanically complex product may take much longer.
If the project is still at the concept or proof-of-concept stage, the complete development timeline is usually broader. OPD Design describes a standard consumer electronics or smart-device project as commonly requiring around six to ten months from concept to mass production, while a full NPI program with greater technical uncertainty can extend beyond that range.
The important point is that a schedule should be built from evidence and dependencies—not from a desired launch date alone.
What You Need to Know in 30 Seconds
- A mature functional prototype may need roughly four to nine months to reach initial mass production.
- The timeline is not a simple sum of every phase because compliance, packaging, sourcing, firmware, and tooling preparation may overlap.
- EVT proves that the engineered product works; DVT validates the complete production-intent design; PVT proves that the factory can reproduce it consistently.
- Production tooling commonly requires about four to twelve weeks, including design review, fabrication, trials, and corrections.
- Long-lead components, certification failures, mold changes, firmware instability, and slow approvals are common schedule drivers.
- The fastest safe schedule is created by resolving the highest-risk assumptions early and running only genuinely independent workstreams in parallel.
- Passing PVT does not mean immediately producing at maximum volume. A controlled ramp-up is still needed.
- Every project needs explicit entry criteria, exit criteria, owners, and decision deadlines for each stage.
A Typical Prototype to Mass Production Timeline
The table below provides practical planning ranges for a custom hardware product that already has a functional prototype. These are not fixed service promises. The actual duration depends on product complexity, prototype maturity, test failures, supplier capacity, target markets, tooling, and approval speed.
| Stage | Typical Planning Range | Main Result |
|---|---|---|
| Prototype audit and requirements confirmation | 1–3 weeks | Current design, risks, gaps, and next validation plan are defined |
| EVT engineering iteration | 3–8 weeks | Core mechanical, electronic, firmware, thermal, and functional risks are resolved |
| DVT and production-intent validation | 3–8 weeks | Complete design, materials, interfaces, reliability, and manufacturability are validated |
| DFM and tooling development | 4–12 weeks | Production tooling is designed, manufactured, trialed, and corrected |
| Certification and compliance testing | 4–12+ weeks | Required market, safety, EMC, wireless, material, or product-category evidence is obtained |
| Supply-chain and production preparation | 3–10 weeks | Suppliers, BOM, fixtures, work instructions, packaging, and quality controls are ready |
| PVT and pilot production | 2–6 weeks | The intended line, people, tools, materials, and processes demonstrate repeatability |
| Initial mass-production ramp-up | 2–8 weeks | Output increases while yield, defects, capacity, and quality are monitored |
These ranges overlap. Certification preparation can begin during engineering. Long-lead components may be ordered after sufficient design confidence is achieved. Packaging can develop before DVT finishes, although its production files should not be frozen until product dimensions and protection requirements are stable. Test fixtures can start during DVT and be finalized before PVT.
For that reason, adding every maximum duration in the table would produce an unrealistic total. A proper schedule must show dependencies, parallel workstreams, and the critical path.
What Does “Starting from a Prototype” Actually Mean?
The word prototype can describe very different levels of maturity.
A 3D-printed appearance model, a breadboard connected to a development kit, and a fully integrated engineering sample may all be called prototypes. They do not begin the journey to mass production from the same position.
Appearance Prototype
An appearance prototype may validate form, size, branding, color direction, control layout, and presentation quality. It may contain no working electronics and may use hand-finished surfaces that cannot be reproduced by the intended production process.
Starting from this stage often means that much of the engineering development remains ahead.
Proof-of-Concept Prototype
A proof of concept demonstrates that a technical principle can work. It may use development boards, oversized batteries, temporary sensors, laboratory power supplies, external computers, or manually fabricated mechanisms.
It reduces feasibility risk but does not prove that the solution fits the target size, cost, power, reliability, or manufacturing requirements.
Functional Engineering Prototype
A functional prototype integrates the major systems more realistically. It may include custom electronics, firmware, mechanical structures, representative user interaction, and preliminary materials.
If its requirements, architecture, and critical risks are already well controlled, it can provide a credible starting point for a four-to-nine-month production plan.
Production-Intent Prototype
A production-intent prototype closely represents the intended product in materials, components, interfaces, dimensions, assembly, performance, and test configuration. Differences from the production design are documented and assessed.
This is the strongest starting point, but even a production-intent prototype does not prove that a factory can reproduce the product consistently. Tooling trials and PVT are still required.
Before publishing a schedule, the team should therefore ask:
- Which product requirements have already been verified?
- Which materials and components are representative of production?
- Does the prototype use custom or off-the-shelf electronics?
- Has the design undergone DFM and tolerance review?
- Are reliability, safety, EMC, wireless, environmental, and usability risks understood?
- Are any prototype parts hand-fitted, modified, glued, or selected for best fit?
- Does the tested CAD, BOM, PCB, firmware, and CMF version match the files being released?
If these answers are unclear, the timeline should include an audit and risk-reduction phase before the next major commitment.
Stage 1: Audit the Prototype and Confirm Requirements
Typical planning range: 1–3 weeks
The first step is not automatically to request production quotations. It is to determine what the existing prototype proves and what it leaves unresolved.
The team should review:
- Product requirements and intended use
- Target users and operating environment
- Mechanical architecture and CAD maturity
- Electronic schematics, PCB layout, and component availability
- Firmware and software status
- Material and CMF requirements
- Target unit cost and production volume
- Target-market compliance requirements
- Reliability and quality expectations
- Prototype test results and known failures
- Intellectual-property, file-ownership, and tooling-ownership conditions
The output should be a controlled development plan, current risk register, preliminary validation matrix, and stage-gate schedule.
This short phase can prevent a major planning error: assuming that a visually complete prototype is technically close to production. If a critical mechanism still depends on manual adjustment, if the PCB uses unavailable components, or if the enclosure has never been reviewed for molding, the project is not ready to enter tooling.
Exit Criteria
- Requirements are measurable and prioritized.
- The prototype’s representative and non-representative elements are documented.
- Critical technical and commercial risks have owners.
- The next prototype build has defined test objectives.
- The team agrees on target cost, markets, volume, and quality expectations.
Stage 2: Complete EVT Engineering Validation
Typical planning range: 3–8 weeks per meaningful iteration
EVT, or Engineering Validation Test, answers the question: Does the engineered product work against its requirements?
This is usually where the industrial design, mechanical design, electronics, firmware, and software become an integrated system rather than separate demonstrations.
EVT work may include:
- Custom PCB design and assembly
- Sensor, motor, antenna, battery, display, or optical integration
- Mechanical load and mechanism testing
- Thermal and power testing
- Firmware-driver development
- Connectivity and application integration
- Basic drop, vibration, ingress, or environmental checks
- Ergonomic and interaction testing
- Preliminary EMC or electrical-safety investigation
- Prototype assembly review
One EVT build is not always enough. If a test reveals a structural failure, unstable wireless performance, excessive heat, short battery life, or poor sealing, the team may need to change the architecture and build again.
The duration depends less on how quickly parts can be printed and more on how quickly the team can complete the loop:
- Build the correct version.
- Test against defined criteria.
- Diagnose the failure.
- Implement the correction.
- Rebuild and confirm the result.
A fast prototype supplier cannot compensate for unclear tests, fragmented engineering ownership, or delayed decisions.
Exit Criteria
- Core functions meet defined engineering requirements.
- Major mechanical, electrical, thermal, power, and firmware risks are controlled.
- Critical components are available and suitable for the expected product life.
- The product architecture is stable enough for production-intent refinement.
- Remaining issues have documented severity, owners, and closure plans.
Stage 3: Complete DVT and Freeze the Production Design
Typical planning range: 3–8 weeks
DVT, or Design Validation Test, evaluates the complete production-intent design. The focus expands from proving the engineering principle to proving that the product satisfies functional, reliability, cosmetic, user, and manufacturing requirements as a finished system.
DVT may include:
- Production-intent components and materials
- Full mechanical and electronic integration
- Tolerance-stack validation
- Repeated mechanism and lifecycle testing
- Drop, vibration, temperature, humidity, UV, chemical, or ingress testing as applicable
- Battery-runtime and charging tests
- Firmware and software release candidates
- Pre-compliance or formal compliance samples
- Packaging-protection tests
- Cosmetic standards and limit samples
- User or usability validation
For regulated products, verification and validation require especially careful planning and documentation. FDA design-control material, for example, emphasizes documented design planning, measurable inputs, review, verification, validation, transfer, and controlled changes. The exact requirements depend on the product category and target market; a general consumer-product timeline should never be reused as a regulatory plan without specialist review.
DVT is also where the design should become sufficiently stable for final DFM and tooling release. “Design freeze” does not mean that changes are impossible. It means that the released CAD, drawings, BOM, PCB, firmware, CMF, and test specifications form one controlled configuration, and any later change follows a documented process.
Exit Criteria
- The integrated design meets agreed performance and user requirements.
- Production materials and critical components are approved.
- Reliability risks are tested to the required level.
- Compliance risks are understood and pre-compliance issues are resolved where applicable.
- Production CAD, drawings, BOM, PCB, firmware, CMF, and test requirements are aligned.
- The design is ready for formal DFM approval and tooling release.
Stage 4: Complete DFM and Production Tooling
Typical planning range: 4–12 weeks
Tooling is often the most visible section of the prototype to mass production timeline, but the duration is not limited to machining steel.
A complete mold-development cycle may include:
- Design freeze and tooling-input review
- DFM analysis and engineering correction
- Mold design, parting strategy, gating, cooling, and ejection planning
- Mold manufacturing, heat treatment, CNC, EDM, fitting, and assembly
- T0 initial mold trial
- Dimensional, functional, and cosmetic inspection
- Tool correction and product-design correction where necessary
- T1, T2, or additional trials
- Texture, polishing, engraving, or other final operations
- Tool approval and transfer into pilot production
OPD’s mold development process describes this progression from design freeze and DFM through T0, T1, T2, pilot production, and mass-production introduction. Its published guidance notes that a production mold may commonly take around four to twelve weeks depending on size, complexity, and production requirements.
Quick-turn tooling services may advertise molded parts in days for eligible geometries. These services can be valuable for prototype or bridge production, but their published lead times should not be treated as a universal estimate for a complex, textured, multi-cavity, long-life production mold. Tool steel, mold life, cavity count, sliders, lifters, hot runners, tolerances, finish, inspection, and corrections all affect the schedule.
DFM should begin before the final file release. NIST’s work on integrating DFM with design explains why identifying manufacturability problems during design can reduce redesign, cost, and lead time.
What Commonly Extends the Tooling Timeline?
- Major CAD changes after mold design begins
- Complex side actions or undercuts
- Poorly defined cosmetic requirements
- Unresolved material shrinkage or warpage
- Late texture or color decisions
- Tight tolerances without functional justification
- Tool trial defects that require welding, new inserts, or replacement cores
- Slow approval of DFM reports or trial samples
- Mismatch between molded parts, PCB, gasket, display, or purchased components
Exit Criteria
- Molded parts meet critical dimensions and functional requirements.
- Cosmetic quality is approved against agreed standards.
- Tooling is stable enough for a representative pilot run.
- Mold settings and important process parameters are recorded.
- Remaining tool corrections do not prevent PVT objectives.
Stage 5: Run Compliance, Supply-Chain, Packaging, and Production Preparation in Parallel
Typical planning range: 3–12+ weeks, overlapping other stages
Several workstreams should not wait until the mold is finished. They can begin earlier, provided the team understands what information is stable and what remains subject to change.
Component and Supplier Readiness
The approved BOM should be checked for:
- Supplier and manufacturer part numbers
- Lifecycle and end-of-life status
- Lead time and minimum order quantity
- Approved substitutes
- Price at expected volume
- Quality and traceability requirements
- Storage and handling conditions
- Regulatory or material declarations
Long-lead components can determine the production date even when the product design is complete. However, ordering large quantities too early creates inventory risk if EVT, DVT, or certification later forces a change.
A controlled schedule uses staged commitments: reserve or sample critical parts early, approve suppliers progressively, and place volume orders only when the evidence supports the exposure.
Test Fixtures and Quality Planning
Production needs reliable methods to confirm that each unit is assembled and functioning correctly. Fixture development may include:
- PCB programming and functional test
- Leak or pressure testing
- Sensor calibration
- Optical or RF testing
- Torque or force verification
- Serial-number and traceability systems
- Cosmetic inspection standards
- Incoming, in-process, and final inspection plans
The fixture itself must be validated. A test that sometimes rejects good products or passes bad ones can make PVT data meaningless.
Packaging
Packaging structure, graphics, labeling, manuals, barcodes, inserts, and logistics configuration can develop alongside DVT. Final dimensions, retention geometry, protection tests, and printed claims should wait for controlled product information.
Packaging delays are common because teams treat it as a marketing task rather than part of the manufactured product. A finished unit cannot ship if the labels, regulatory markings, transport protection, carton configuration, or instructions are incomplete.
Stage 6: Run PVT and Pilot Production
Typical planning range: 2–6 weeks
PVT, or Production Validation Test, answers a different question from EVT and DVT:
Can the intended factory, line, operators, tooling, materials, fixtures, documents, and quality controls reproduce the approved design consistently?
The pilot run should use production-intent conditions as closely as possible, including:
- Production tooling
- Approved suppliers and components
- Released BOM and work instructions
- Intended assembly sequence
- Trained operators
- Production test fixtures
- Inspection standards
- Traceability methods
- Packaging process
The team should monitor:
- First-pass yield
- Defect categories and Pareto trends
- Rework and scrap
- Cycle time and line balance
- Assembly difficulties
- Tooling and fixture stability
- Process capability for critical characteristics
- Functional-test results
- Packaging efficiency
- Production capacity
- Traceability performance
PVT quantity should be chosen to expose meaningful process variation, not selected because one universal sample number appears in a template. Product complexity, cavity count, expected volume, supplier variation, process risk, and validation objectives all matter.
If the pilot run finds a recurring defect, the correct response is not simply to sort out bad units. The team should identify the root cause, implement corrective action, update the relevant design or process documentation, and verify that the change is effective.
Exit Criteria
- Production tooling is validated.
- The line can reproduce the product with acceptable yield and defect levels.
- Operators, work instructions, fixtures, and quality documents are ready.
- Functional and safety tests are reliable.
- Packaging is validated.
- Pilot-run problems are closed or formally accepted with controls.
- Customer production samples or golden samples are approved.
Stage 7: Begin Mass Production and Ramp Up Gradually
Typical planning range: 2–8 weeks for initial ramp-up
Mass production is not a single date at which all risk disappears. It is a controlled increase in output.
Problems may emerge only after:
- Tools run repeatedly for longer periods
- Different material lots arrive
- Additional operators join the line
- Multiple cavities or production lines are used
- Suppliers increase output
- Packaging and logistics operate at full speed
During ramp-up, the team should monitor incoming quality, first-article results, in-process defects, final inspection, functional testing, yield, capacity, supplier performance, returns, and corrective actions.
The first production order should therefore include time for review and stabilization before a non-negotiable retail, crowdfunding, exhibition, or distributor deadline.
OPD’s manufacturing support services connect design and production preparation with quality, process, supplier, and ramp-up support rather than treating mass production as a one-time factory handoff.
The Critical Path: What Actually Controls the Launch Date?
The critical path is the sequence of dependent activities that determines the earliest possible completion date. If a critical-path activity slips, the launch date slips unless the team can recover time elsewhere.
A simplified critical path might be:
Requirements approval → EVT correction → DVT approval → design freeze → tooling → tool correction → PVT → mass-production release
Parallel workstreams may include:
- Compliance planning and pre-testing
- Firmware development
- Test-fixture development
- Supplier qualification
- Packaging concept and graphics
- Quality-plan preparation
- Production-line planning
Parallel does not mean independent forever. Packaging eventually needs final product dimensions. Certification needs the correct hardware and firmware configuration. Fixtures need frozen test points and specifications. Component orders need sufficient design confidence.
Each parallel workstream therefore needs a synchronization gate that states what information must be stable before it can proceed to its final commitment.
How to Build a Timeline Backward from a Launch Date
A commercial launch date is not the same as the factory’s first production date. Inventory needs time for production, inspection, packing, freight, customs, warehouse receiving, channel distribution, and contingency.
An illustrative backward plan might look like this:
| Milestone Before Launch | Target Position | Evidence Required |
| Product available in sales channel | Launch week | Received, inspected inventory and channel readiness |
| Shipping and logistics complete | 2–8+ weeks before launch | Final inspection, export documents, freight booking |
| Initial mass production complete | 4–10+ weeks before launch | Approved lot, packaging, shipment authorization |
| PVT approved | 8–16+ weeks before launch | Yield, defect, capacity, fixture, and process evidence |
| Tooling and production-intent design approved | 12–24+ weeks before launch | Tool trials, DVT results, released files |
| EVT risks resolved | 18–32+ weeks before launch | Integrated engineering test results |
The exact offsets depend strongly on shipping method, order quantity, season, market, and product complexity. The value of backward planning is not the specific number. It is the visibility it creates.
If the plan shows that PVT must pass before the required tools, fixtures, certified configuration, and components can realistically be ready, the launch date is not an engineering plan—it is a wish.
How OPD Manages the Prototype to Mass Production Timeline
A reliable timeline requires continuity across design, engineering, validation, tooling, supply chain, and production.
At OPD Design, the end-to-end product development process connects:
- POC: product and technical feasibility
- EVT: engineering integration and functional validation
- DVT: production-intent design and system validation
- PVT: manufacturing-process and repeatability validation
- MP: stable mass production and ongoing improvement
OPD’s product prototyping services support concept, ergonomic, functional, engineering, and high-fidelity prototype builds according to the decision that must be made. Its mold-development and manufacturing teams then connect DFM, tooling trials, pilot production, quality planning, and production ramp-up.
This integrated workflow helps reduce the schedule gaps that appear when industrial designers, mechanical engineers, electronics suppliers, prototype workshops, toolmakers, test laboratories, packaging vendors, and factories work from different files or assumptions.
For the full sequence and deliverables at each stage, read the prototype to mass production in China guide. For the stage-gate logic behind POC, EVT, DVT, PVT, and MP, see the NPI process guide.