Prototyping is the first important stage in turning a great idea into a real-world product. It’s the stage at which ideas become tangible, testable, and improvable models. A prototype helps to determine what works, what doesn’t, and what needs improvement before rushing into full-scale manufacturing.
For businesses hoping to realize fresh ideas, this procedure is usually the first genuine bridge between production and creativity. This article will clearly and accessibly guide you through every single stage of prototype manufacturing, therefore demonstrating how each one takes your product closer to reality.
Conceptualization and Initial Design
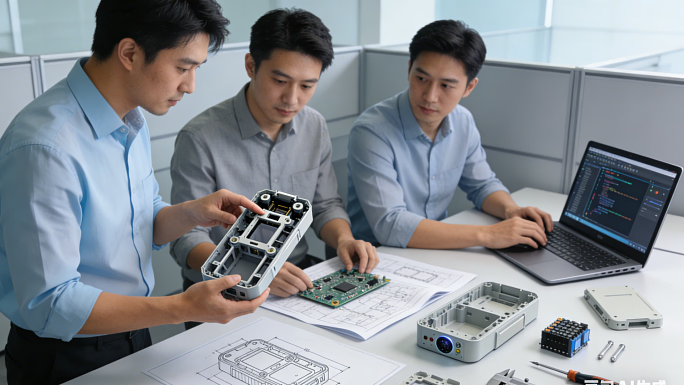
The initial phase in prototype production is all about knowing what the product is meant to do and how it should appear. This is the stage at which the idea starts to take shape. Usually beginning with sketches of ideas or using digital tools to investigate various shapes, layouts, and user functions, designers and engineers Though with an eye on useful results, it’s the brainstorming phase.
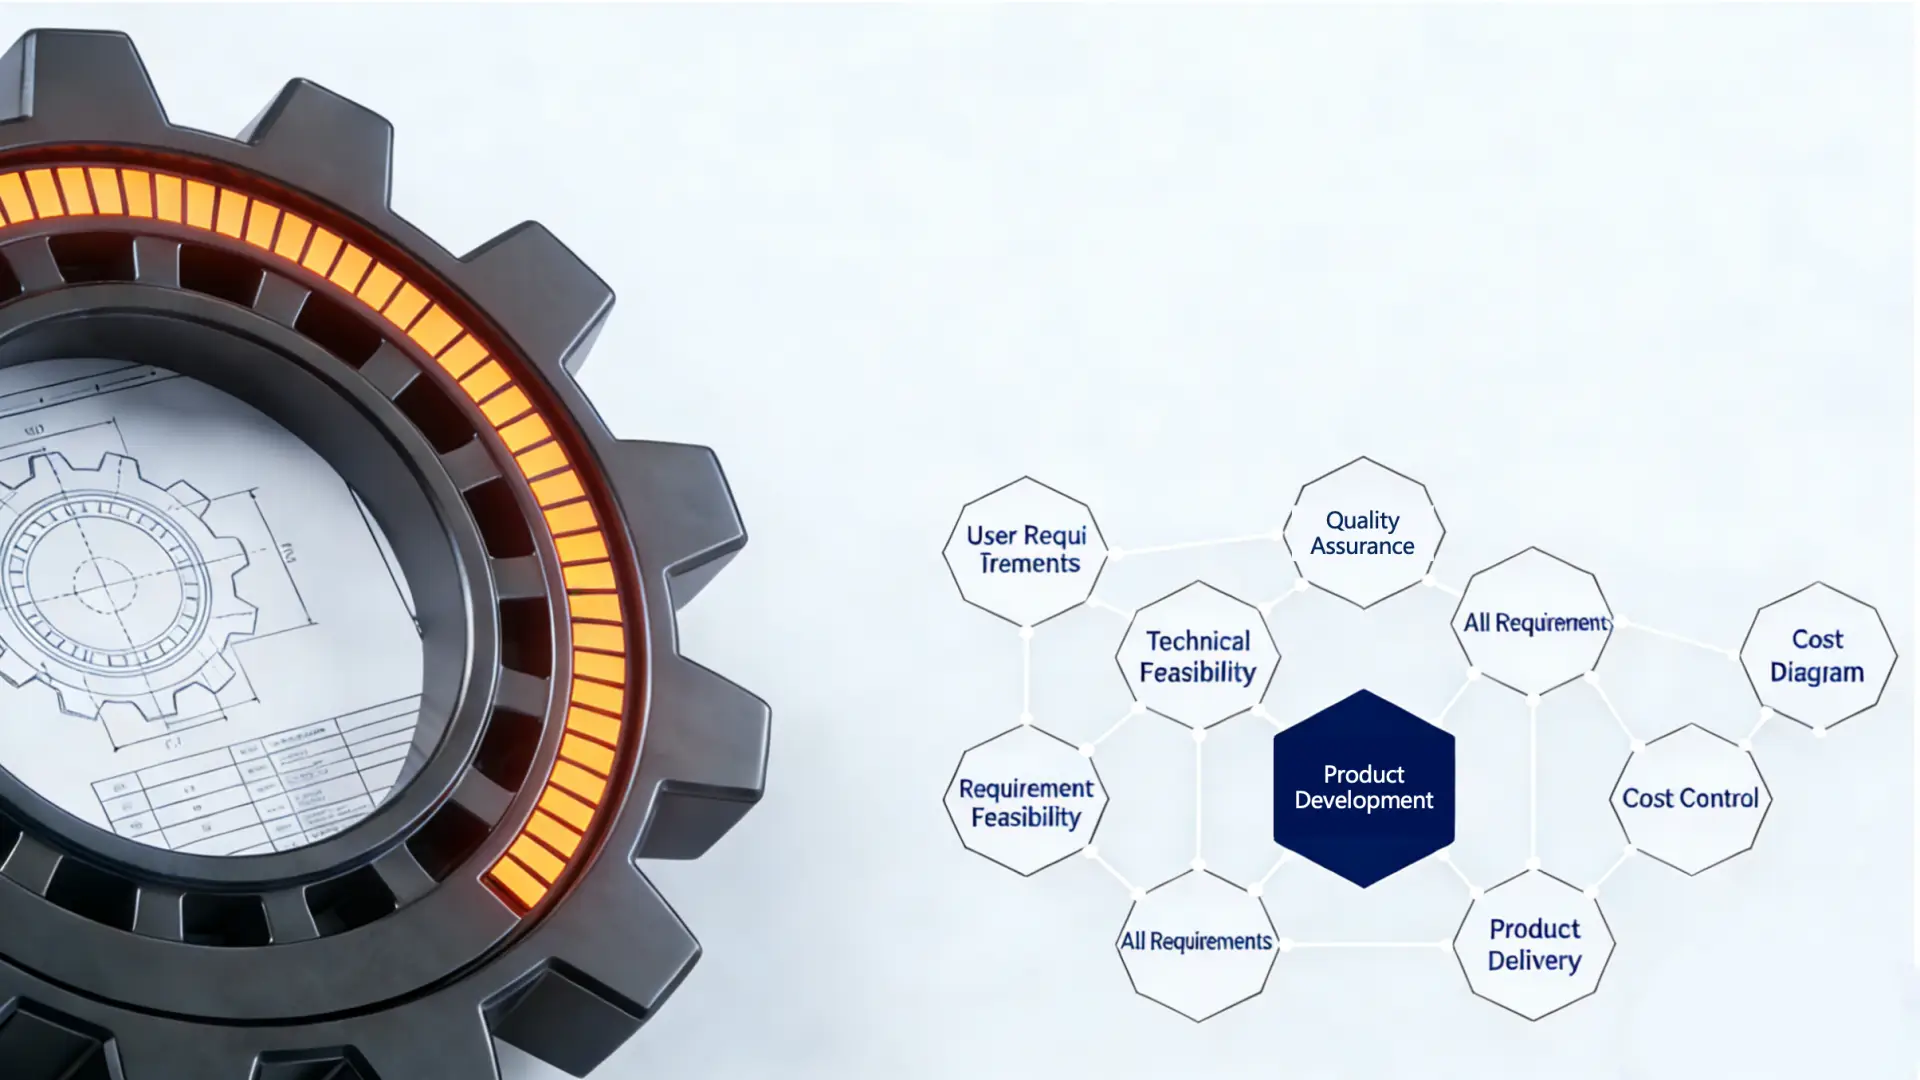
A good design should be simple to produce, operate effectively, and not merely look lovely. CAD software is useful here since it lets designers 3D digitally build the thing. These digital models allow one to see everything from mechanical movement to how parts fit together. But it’s not only about appearance. The team also takes into account cost, environmental issues, safety, materials, and other elements.
Now, forward thinking is absolutely crucial. Will the design survive under actual conditions? Is it scalable for manufacturing? Can it be enhanced to cut expenses or waste? Early planning helps to minimise issues down the road.
Choosing the Right Materials
Once the design is set, choosing the right materials is the next important job in prototype manufacture. Especially for functional prototypes, the material should resemble the final product as near to reality as feasible.
Different items call for various requirements. While a medical item could require surgical-grade steel, a toy could be made of plastic. Choosing materials that balance strength, weight, look, and cost helps product prototyping to work. Occasionally, businesses begin with less priced materials only to evaluate shape and fit before spending in more costly ones.
Being durable is also quite vital. A prototype for a phone case, for instance, should be able to withstand scratches and falls. Softer, less expensive fabrics could work, though, if all you care about is the appearance and size. Your material selection influences both the performance of the prototype under testing and the development cost you incur.
Creating a Digital Model and Technical Blueprint
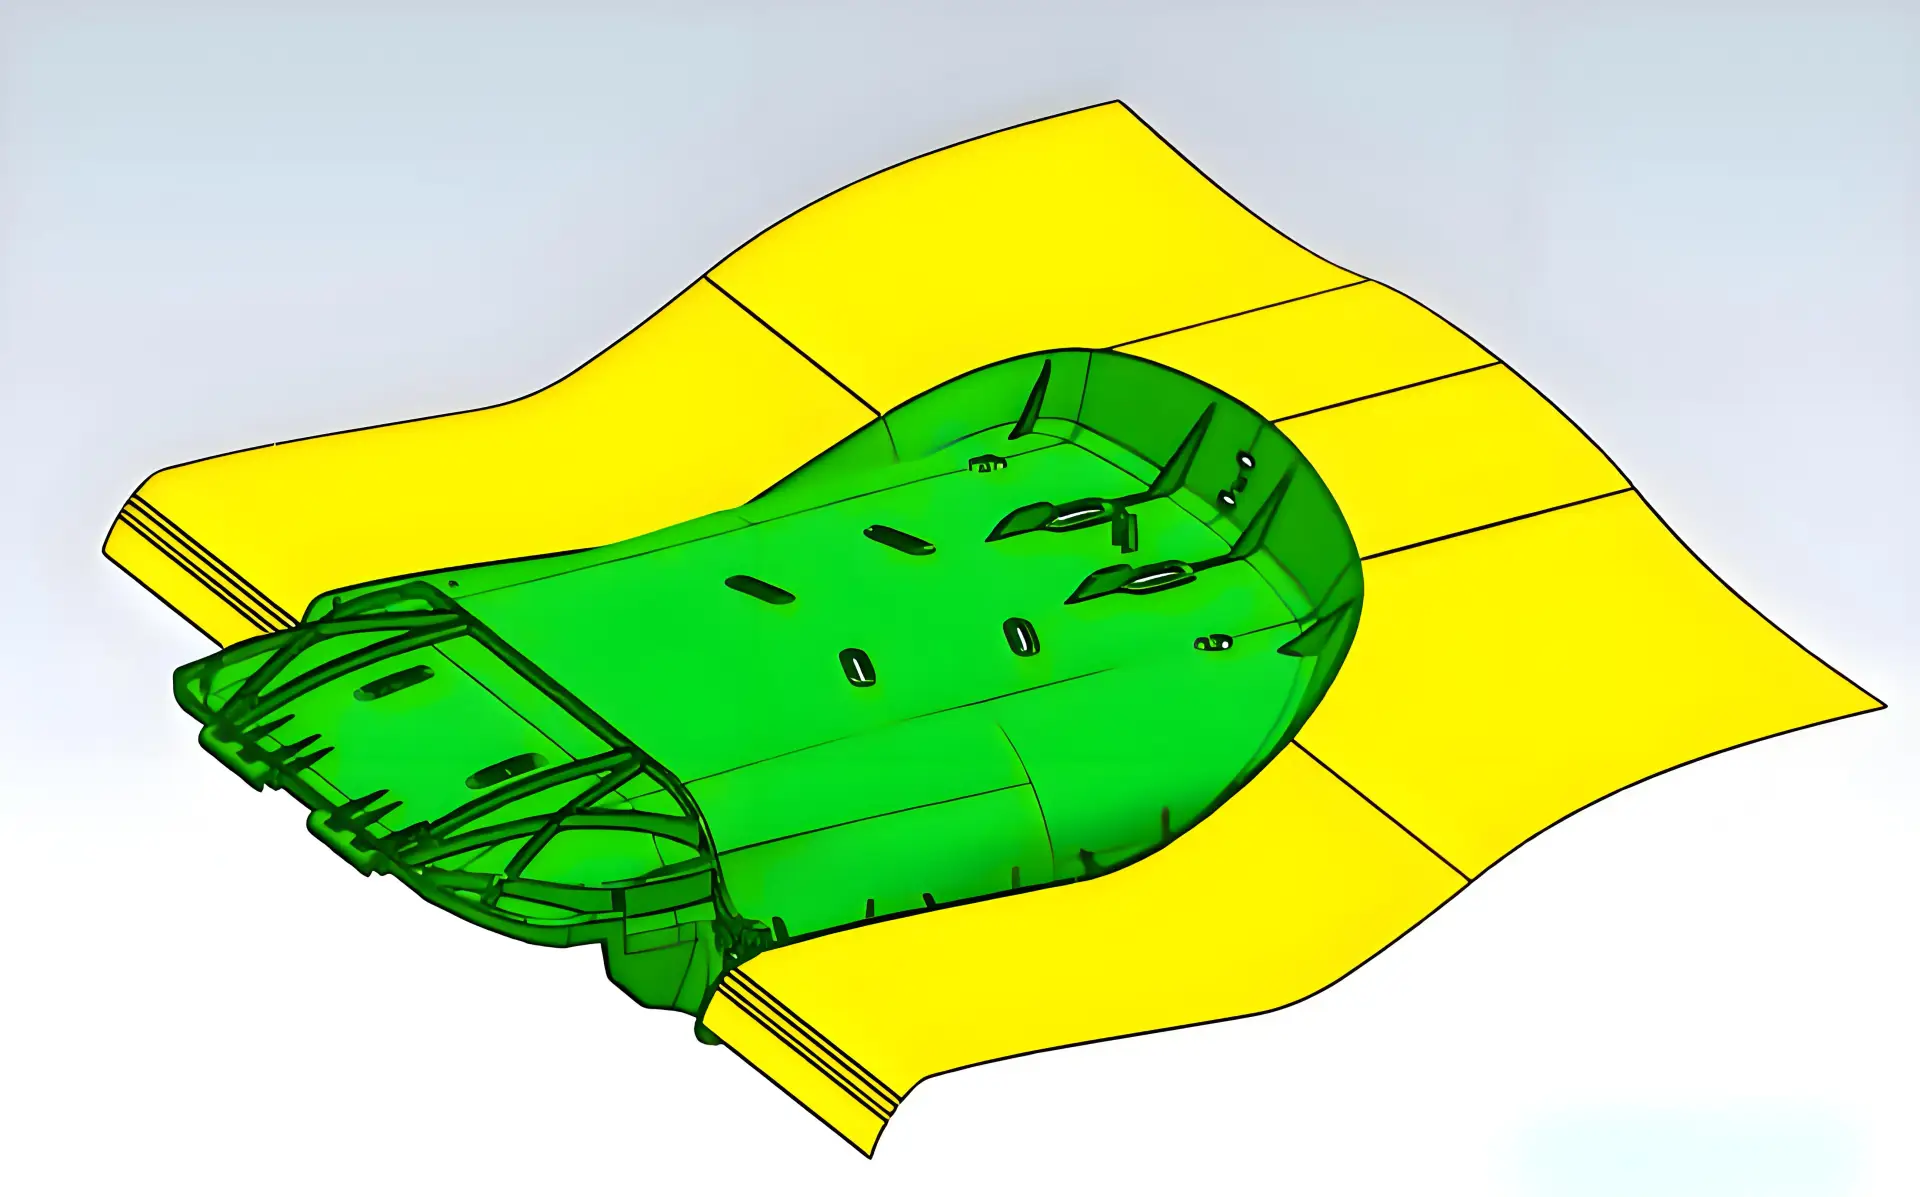
Design and materials fixed, it’s time to create prototype. This covers thorough drawings manufacturers use to create every component. Before even producing a tangible item, CAD models let engineers measure and simulate how components interact.
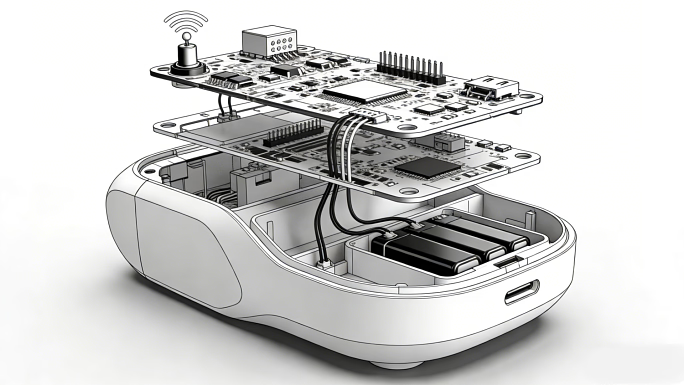
Dimensions, tolerances, and performance characteristics are set at this point. Should the product include electronics, printed circuit board (PCB) layouts and schematics also have to be created. Building the prototype requires these files, but so does guaranteeing its replication throughout production and prototyping phases.
Digital files help engineers identify faults early by supporting simulations as well. By identifying issues before any material is utilized, these tools save money and time.
Rapid Prototyping and Fabrication
The thrilling part now is really creating something you can touch. Rapid prototyping enters here. It’s a word for quick techniques producing actual models from computer drawings.
Among the most common choices is 3D printing. It’s quick, inexpensive, and great for early-stage growth. 3D printing brings ideas to life rapidly whether you’re making metal, resin, or plastic pieces.
Other frequent techniques are vacuum casting for more precise work and CNC machining, in which computer-controlled equipment cut components from solid blocks. Injection molding could also be employed to create more exact samples if you are dealing with plastic parts.
Speed is a key benefit of fast prototyping. A few hours will allow for some models. This lets engineers produce several versions in quick cycles, hence enabling teams to improve their concepts more quickly and effectively.
Functional Testing and Feedback Collection
Testing starts after building the actual prototype. In prototype production, this stage is essential since it reveals if the product functions as intended. Testing sometimes even visual appeal, safety, strength, and functionality.
A wearable device, for instance, could have to endure drops, weather, and perspiration. A culinary gadget could have to withstand pressure and heat. These tests enable manufacturers to identify product shortcomings and areas for development.
User input is also essential. Sharing the prototype with test groups, investors, or prospective clients lets you discover actual use and comfort. This information joins your cycle of design enhancement.
Actual statistics indicate that early-stage testing can cut manufacturing faults by as much as 30%. That’s a significant cost reduction and a good justification for avoiding this stage.
Iteration and Refinement
No first prototype is faultless. Strong planning still leaves room for unanticipated problems in actual use. Every good prototype manufacturing process includes iteration for this reason.
Teams return to the design at this stage. Perhaps the battery life has to get better. Perhaps a part is too delicate. Changes are made regardless of the situation; a new version is created.
This procedure could take place multiple times. Most successful items really go through three to seven complete revisions before they are suitable for mass manufacture. Though it may seem excessive, every round gets you nearer to the last product and helps to prevent expensive shocks later.
The aim is to address issues before they turn into production catastrophes. A more thorough prototype will help you to avoid additional problems later.
Final Prototype and Pre-Production Preparation
Following several successful iterations, the prototype eventually gets ready for pre-production. This version should run, look, and feel precisely like the final product. It has all internal components, finishes, labels, and packaging as required.
Prototype companies frequently view this as a dress rehearsal for full-scale production. Engineers look at how every component is manufactured and put together. Should anything be excessively expensive or time-consuming, they seek means to enhance it.
Every process is also recorded at this level. You require precise documentation to ensure that every time the product is made, it is done so consistently and accurately. From assembly sequence to quality control, everything is specified.
Manufacturing and prototyping teams should be in sync by now, with no significant shocks remaining. It’s the last green light before starting manufacturing.
Conclusion
Prototype manufacturing is far more than simply creating a sample. Guiding the path to production is the deliberate process of transforming an idea into a testable, improvable, and practical model. Every step—from drawing designs to honing with actual feedback—matters. For businesses concentrating on quality and innovation, this path reduces risk, saves money, and increases market performance. Product developers who embrace the whole process of prototype manufacturing may boldly carry their idea from dream to delivery with considerably less road blocks.


